Blog
Will a Tote Organizer Fit Your Bag?

An organizer can make an unlined-looking cavern feel as orderly as a desk drawer. It can also turn a comfortable tote into a rigid box with a narrower opening and a heavier shoulder load. The useful question is whether an organizer fits the bag and improves the way you retrieve what you carry. The name printed on an insert or on a product listing is only the beginning. Start with the usable interior, check how the insert gets through the opening, then test the arrangement with the items you actually take out on an ordinary day.
Start with an inventory of movements
Empty the tote onto a clean table. Instead of writing down every object in a single list, separate the items you take out without thinking from the ones you retrieve only once. A transit card, keys and phone belong to the first group if you use them at several stops. A spare cable or folded shopping bag might belong to the second. The organizer should earn its space by reducing the number of movements in the frequent group. If you only want to stop a charger from drifting into the corners, a small pouch might accomplish that with less material.
Repeat your most common sequence while standing beside the table. Imagine a gate or a shop counter rather than a quiet room. Do you keep the bag on one shoulder while reaching inside, or do you put it down and hold the mouth open? Do you take the phone out and return it before retrieving your wallet? A divider can guide your hand, but a tall divider next to the opening can also trap the edge of a wallet. These details explain why a well-reviewed organizer can be a poor match for a particular person and route.
List the longest and tallest objects you need to remove easily. Make a separate note of the soft items you sometimes add, like a scarf or a thin layer. Rigid objects define the minimum clear opening. Soft additions define how much flexibility you want to retain. If the bag regularly carries a changing load, save room for the occasional addition before choosing the number of compartments.
Measure the clear opening first
Many measurements on a bag listing refer to the exterior. Those dimensions are useful for comparing overall scale, but they do not describe how an object enters the bag. A stiff insert has to pass through the clear opening before its base can reach the bottom. A long zipper, a bridge clasp or side panels that slope inward can change that path substantially. Open the bag the way you use it, then measure the clear distance between the parts that remain in the way.
There are three useful checks. Measure the widest unobstructed span with the opening relaxed. Measure the depth of that space at the middle. Finally, note any fixed hardware, interior hooks or folded ends that reduce the span along the route the insert must take. If you need to tilt the insert to get it past a corner, think about the height of the tilt too. A low organizer can have a generous base and still slide in more easily than a tall one with a nominally smaller footprint.
With a bag you already own, a clean sheet of paper or a light piece of card gives you a simple rehearsal. Cut the paper to the proposed insert footprint and try lowering it through the opening with your hands in a normal carrying position. A paper template bends, so passing this test does not establish that a stiff insert will fit. Failing it is already informative. If the only way to guide the template in is to stretch the opening or push firmly against a fastener, look for a smaller footprint or a more flexible design.
If shopping from photos, look for top-down views that show the opening and interior. Ask for the usable opening measurements if they are not shown. Give the exact product reference and explain that you need the space between the ends of the zipper or the side panels. A clear question about the actual route into the bag is more useful than asking whether a particular size is supposed to fit.
Measure the surface that supports the insert
The bottom of a tote can be narrower than its widest part. Some bases have rounded corners, folds or seam allowances that lift an otherwise flat object. Measure the usable floor inside the bag where the organizer will sit. Use the width across that floor and its usable depth from front to back. On a softly shaped bag, let it rest on a clean, level surface and use its natural position rather than stretching it flat. Take a note if a seam creates a shallow ridge or if the sides curve toward the middle.
Compare those measurements with the insert's outside dimensions. The advertised outside size can include edging, side pockets and handles that add thickness. Its compartment dimensions describe your storage space, but they do not tell you whether the entire object will settle into the tote. If the listing gives only one set of numbers, find out what the seller measured. A padded side pocket may occupy the space that looked like clearance in the first comparison.
A little room around the footprint lets the organizer settle and gives your fingers somewhere to grip when you remove it. There is no universal allowance. A soft fabric insert and a stiff felt box behave differently, and a tote with corners folded inward may need clearance in places a rectangular sketch does not capture. An insert that fits snugly on paper might press into the side seams once the pockets are full. Aim for an arrangement that sits flat with an ordinary load and lifts out without pulling the lining upward.
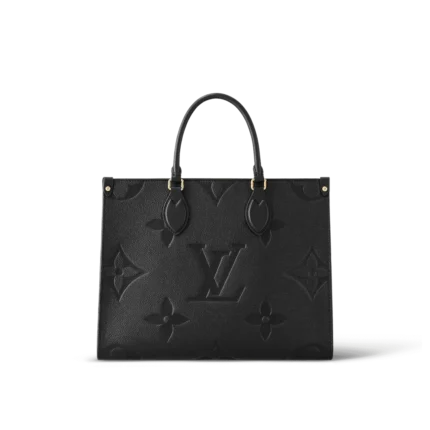
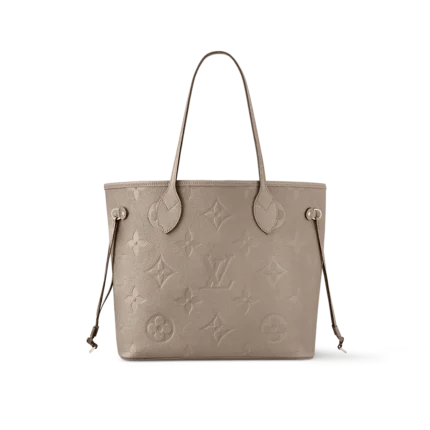
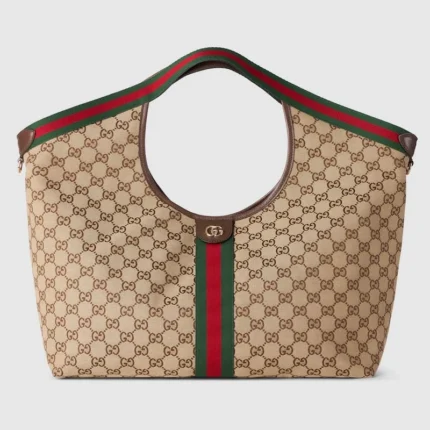
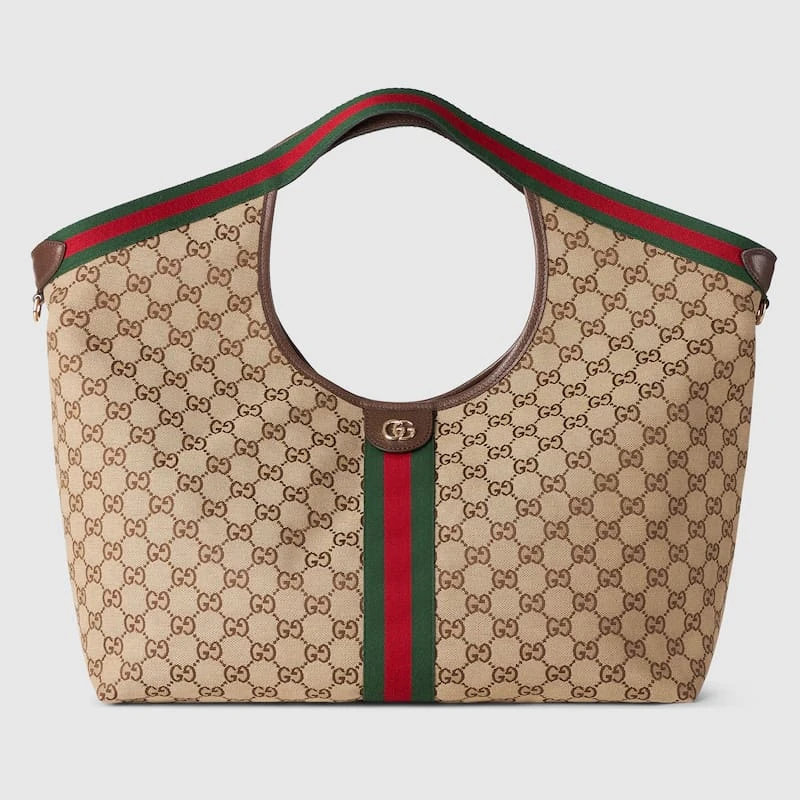
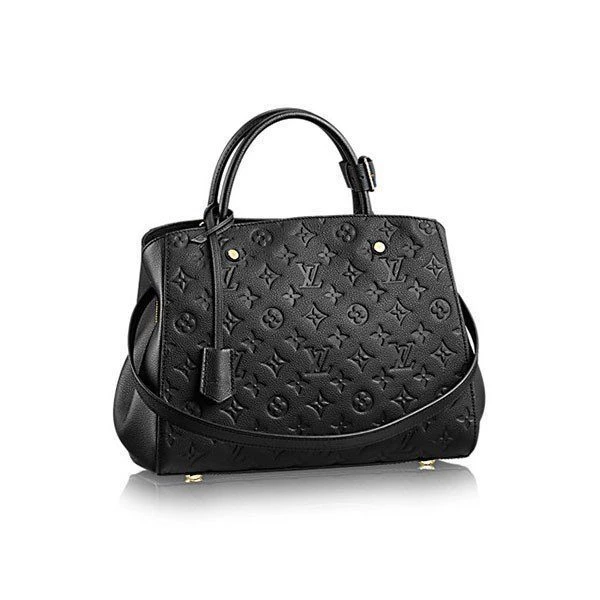
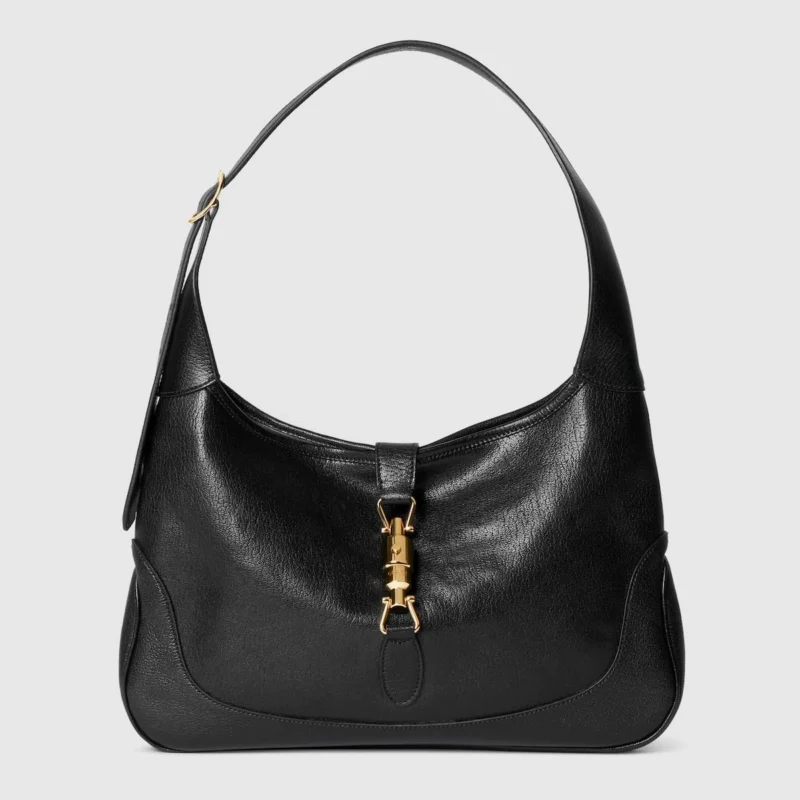
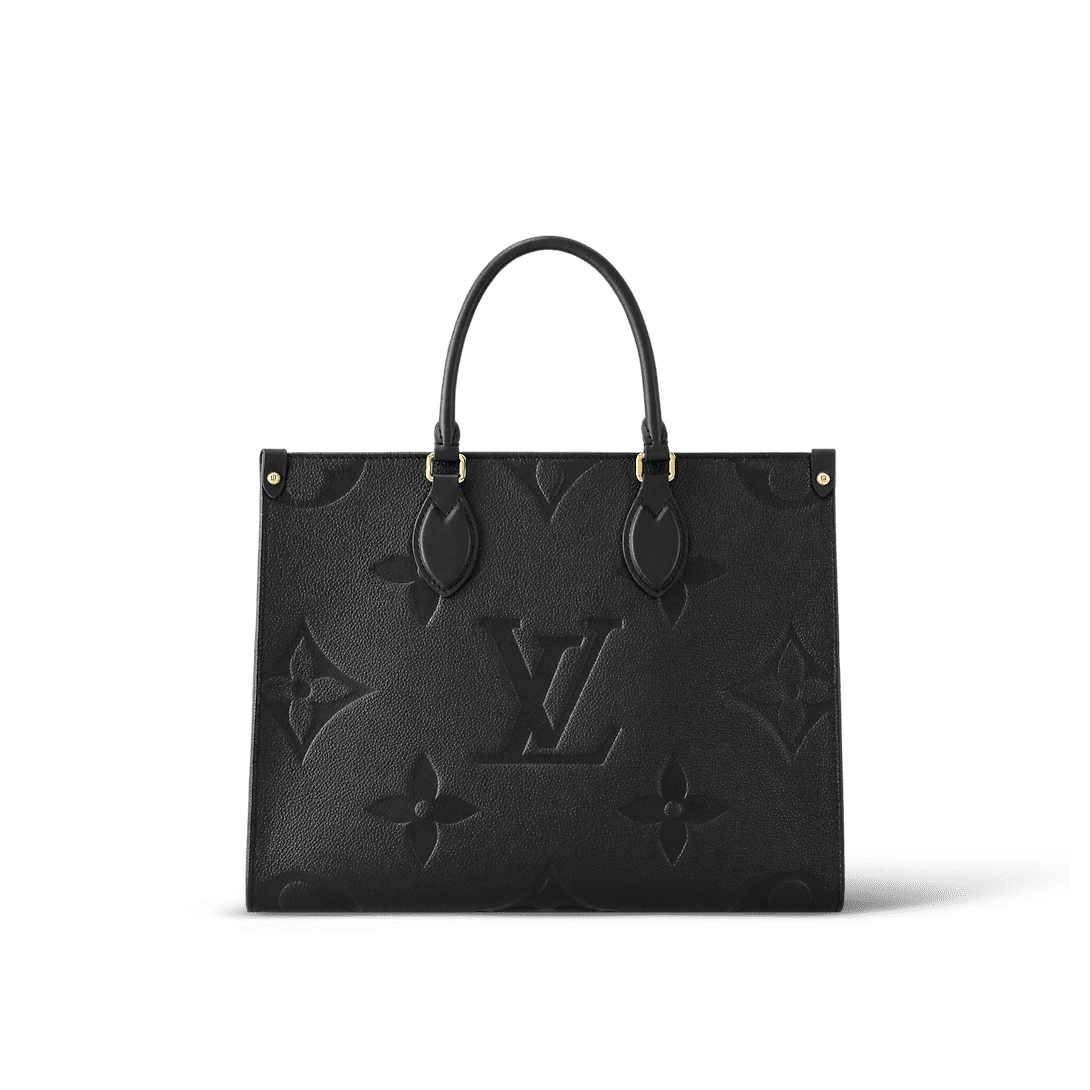
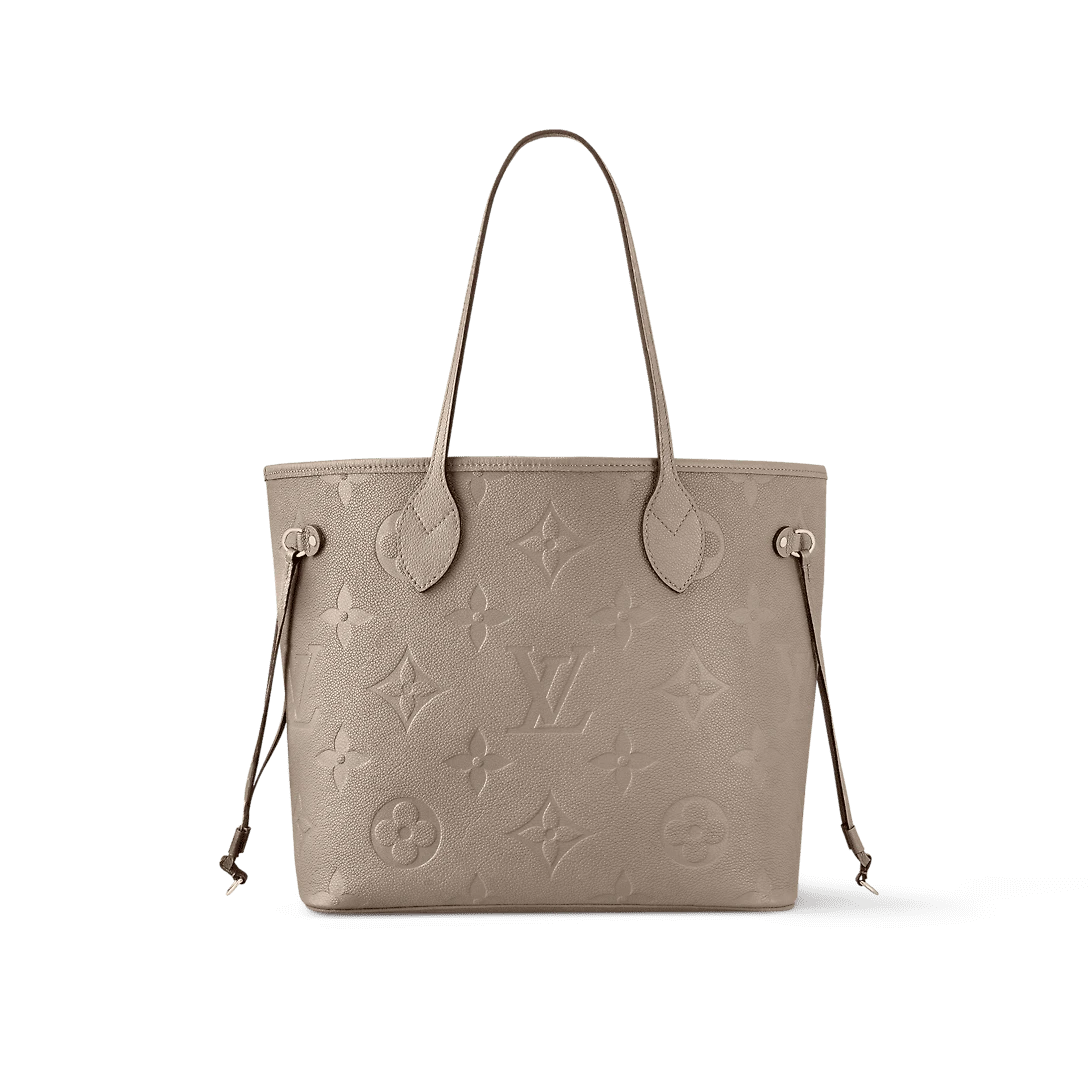
Compare the base views on the OnTheGo MM M45595, the Neverfull MM M45686 and the Gucci Giglio large tote. These listings give you three concrete places to practice looking for the interior shape and the way the sides meet the base. The product names alone are not enough to match an insert. Keep the model reference beside your notes if you compare several similar listings.
Set a height limit that leaves the bag usable
An insert can fit below the top edge and still interrupt a clasp or reduce access to an existing pocket. Choose a height by looking at the lowest thing you need to reach. That might be a zipper pull set below the rim, a pocket opening on the back wall, or a removable pouch clipped to an interior attachment. Test the bag with these features in their usual positions. An organizer is most helpful when the tote remains easy to use without relearning every movement.
Height also changes the way you see the contents. A low insert keeps more of the interior visible and often leaves room for a folded item above it. A taller insert may hold bottles or pouches upright, but it can create a deep pocket where smaller objects become harder to pinch out. Put a familiar card or small key case into the proposed pocket and imagine your hand reaching down beside it. If fingers need to work around a tall rim every time, choose a shallower place for that item.
When the tote has a top fastening, compare the loaded height, not only the height of the empty insert. A water bottle cap or the corner of a notebook might extend above the organizer and touch the fastening first. Lay the daily essentials out in the positions you want, then estimate where the tallest points will stand. A bulky item can sometimes move beside the organizer and leave the center clear. That solution makes sense only when the item stays stable and remains accessible.
For a tote you have not bought, request an interior photo showing the base, main opening and the inside pocket from one angle. A photograph will not replace measurements, but it can show which elements share the same space. Label your height note with the name of the obstruction. That is more memorable than a single interior height figure when you return to compare products later.
Rehearse the load with a removable paper layout
Make a simple map on a clean table. Place a sheet of paper with the planned insert footprint under your daily objects. Mark a wide compartment for the most awkward item and a narrow one for the pieces that should remain upright. Avoid measuring a pile as though it were a single object. Separate it into layers that can be lifted or reached in your usual order. The exercise makes it obvious when a large zipper pouch blocks a small pocket or when two objects try to occupy the same corner.
Try two different arrangements before settling on one. The first should put quick-access items near the opening and leave the rest grouped in the middle. The second should move awkward objects to the sides and leave a clear channel through the center. The better layout is the one you can use without lifting the insert or taking unrelated items out. Run through the sequence several times. One effortless reach at a table may not be repeatable when the bag is resting against your body.
Consider any occasional item as a separate scenario. If you bring a thin notebook twice a week, test that load independently rather than allowing it to define every compartment. If there is no place for it with the organizer in place, you could remove the insert on notebook days. If the organizer will be transferred between bags, empty the items that belong to only one routine first. A compact layout transfers more easily when every object in it serves a regular purpose.
Keep liquids and items with protruding corners in a sensible position. An organizer can limit movement but should not be treated as a spill barrier or a substitute for a suitable protective case. The point of the paper rehearsal is to understand access and volume. Any special storage requirement should be checked against the actual item and organizer materials.
Compare the feel of different insert designs
Flexible inserts and stiff boxes solve different problems. A flexible liner often follows the bag's shape and folds slightly for removal. It may leave more room around a curved corner but offer less support for objects that tip over. A stiff insert keeps compartments readable and may keep a tote more upright. It can also flatten a rounded silhouette, add noticeable weight and make the opening less forgiving. Decide how much support you actually want rather than assuming a stiffer result is an upgrade.
Look at the divider edges and pocket depth in the organizer photos. A low removable divider is useful when the load alternates between a flat item and several smaller ones. High fixed sections make sense when the same items go in the same places every day. A pocket can be too narrow even when the item slides in easily. Try to allow space for fingers to pinch the item out, especially when it sits at the bottom or has a smooth surface.
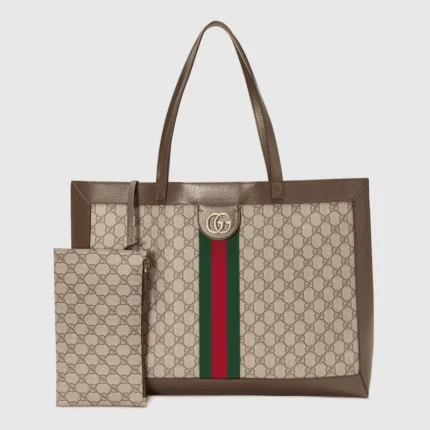
If the tote itself has a detachable pouch or a generous inside zip pocket, use that feature in your proposed layout before adding more pockets. A removable organizer should make the original bag more useful. It should not hide a feature you rely on or force you to leave it empty. On the Gucci Ophidia medium tote, review the listing photos and compare the interior before choosing the thickness of an insert. Open the tote collection to see how different openings and shapes can change the decision.
A quiet color that contrasts slightly with small objects may make them easier to find. A darker insert may hide marks, but it can also make dark accessories blend into the corners. Consider the light in the places where you usually use the bag. Color and finish are supporting choices. Fit, access, weight and the ability to clean the insert matter more if the arrangement will be used every day.
Test the insert in stages before relying on it
Place the empty insert in the tote and check that it settles without force. Fasten the bag in the usual way. Take the insert out by lifting it evenly, then check whether anything snagged. If the base rises at a corner or the bag's sides are visibly pushed outward, pause before loading it. An insert can look fine from one angle while pressing directly against a seam from another.
Load only the regular items next. Try opening and closing the tote, then reach for the three items you access most often. Carry it briefly in the way you actually wear it, on a shoulder or by the handles as appropriate. Notice whether the added structure makes the weight feel farther from your body. Set it down once on a level surface and see whether it remains steady. Avoid lifting the whole arrangement by a divider that was not intended as a handle.
Finish by adding one ordinary extra. Recheck the fastening and see whether you can still lift out the organizer without turning the bag upside down. If only this extra creates trouble, note whether the insert can be removed quickly on those days. If the everyday load already makes the bag uncomfortable, simplify the arrangement or use a smaller divider. An organizer that looks tidy on a counter should also make the bag easier to carry and easier to open in motion.
Retest after several ordinary uses. Rearranging two pockets can be more effective than replacing the whole insert. Review where the bag is beginning to sag, what you are reaching for most often and which compartment is consistently empty. A habit that makes sense after a few days is a better basis for a final decision than the impression made by an empty organizer.
Keep a simple fit record for your next tote
Keep one note with the product reference, the clear opening, the usable floor and the height of the lowest important obstruction. Add the material and outside dimensions of the insert, then list the two access movements that matter most. If you need to replace the organizer later, these are the details that tell you whether a substitute will work. A label like medium or MM will not preserve that information.
Use a simple pass check for each combination. The insert should enter without forcing the opening, sit flat without pushing the sides outward, leave the intended fastening usable, preserve the pockets you need and come out without snagging. In a loaded test, it should give the frequent items an easier path without making the tote feel awkward. If only the pockets are the problem, a pouch or lower divider may offer the same benefit with less bulk.
When the listing leaves one of those measurements unclear, save the exact product link and ask a focused question through Integrity Bags support. Compare the reply with your paper layout before choosing. For photos and examples of how bags sit in ordinary use, the photo reviews page can complement the product gallery. The best match is the one that works with the interior shape and with the order in which you reach for your belongings.
Compare these products