Blog
A Removable Tote Pouch Changes How Much You Can Carry

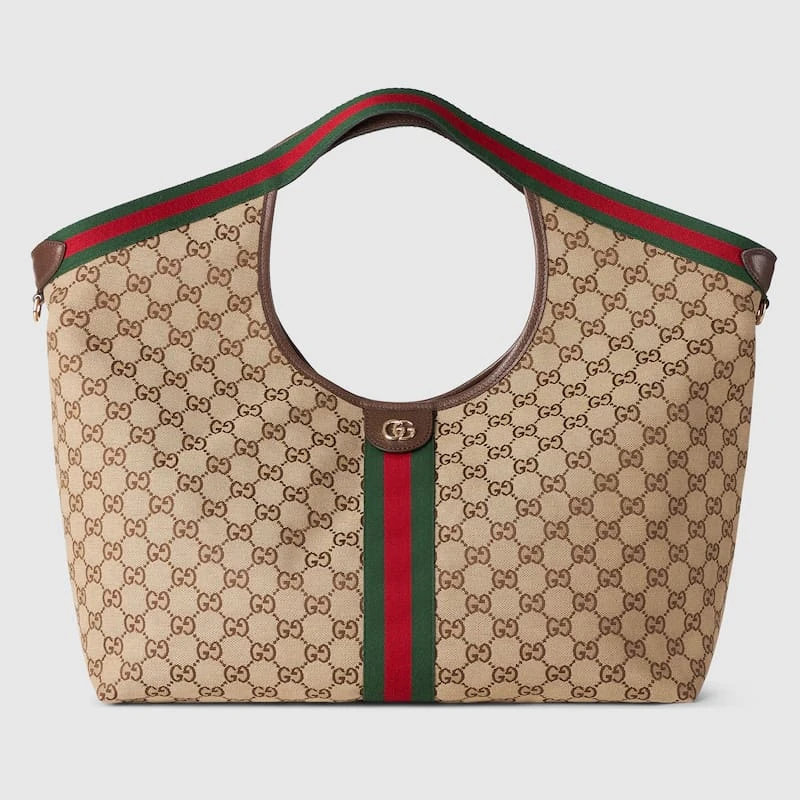
Two totes with similar exterior measurements can carry very different loads once a removable pouch is inside. A thin pouch hanging against a side wall might leave most of the base available. A full pouch on a short tether can sit across the opening and obstruct the items beneath it. Taken out of the tote, the pouch may let you leave the big bag behind for a few minutes. The useful comparison is between real packing arrangements, with the pouch full, in the exact position you expect to use it.
Find out what the listing includes
Start with the product reference and the description of included pieces. Terms such as detachable pouch, removable zipped pouch and interior zip pocket describe different arrangements. The first two refer to a separate piece that can be taken out. An interior pocket can be useful, but its position stays fixed. Look for a photo of the separate piece, then check whether the listing describes a tether, clip, loop or other connection. A photo of a small item laid beside a tote does not on its own establish how it attaches inside the bag.
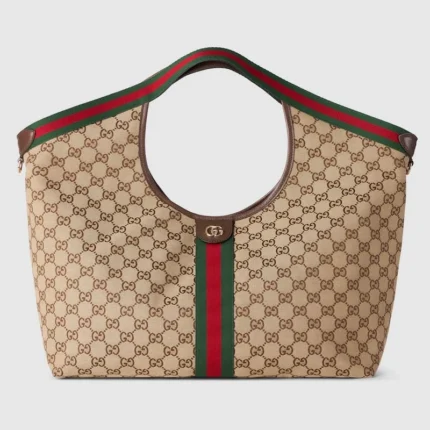
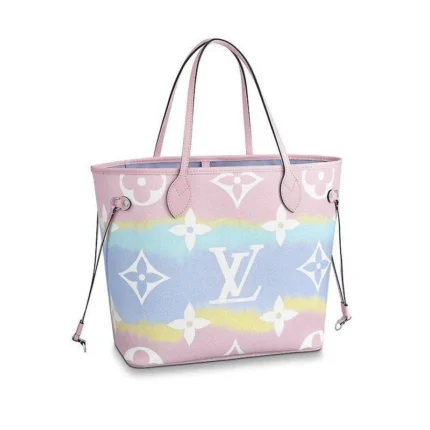
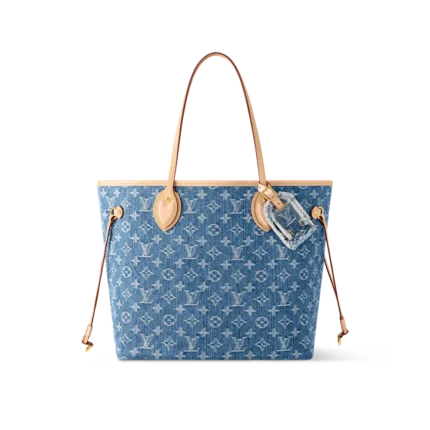
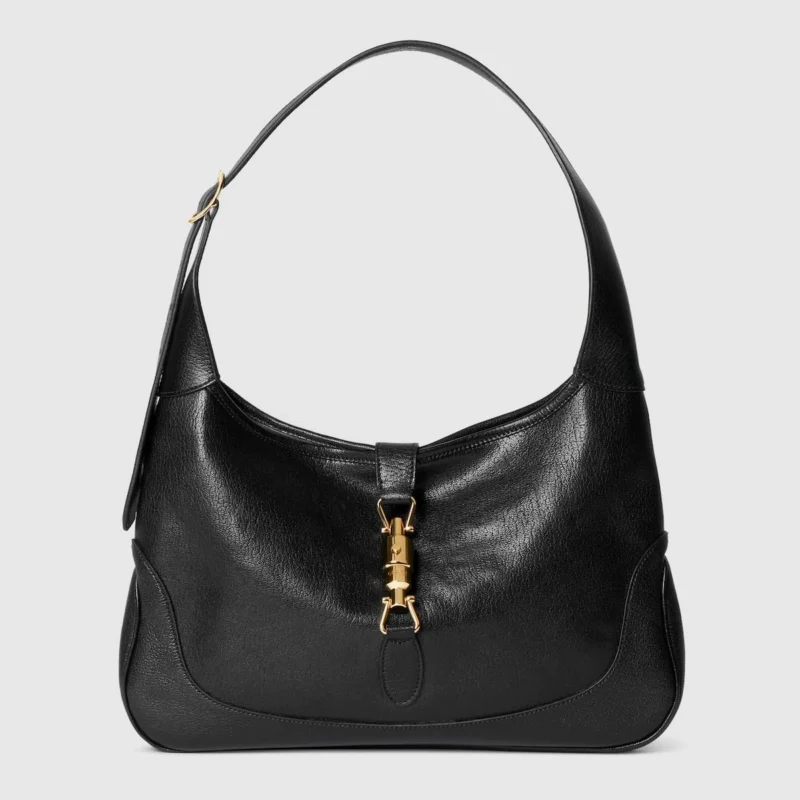
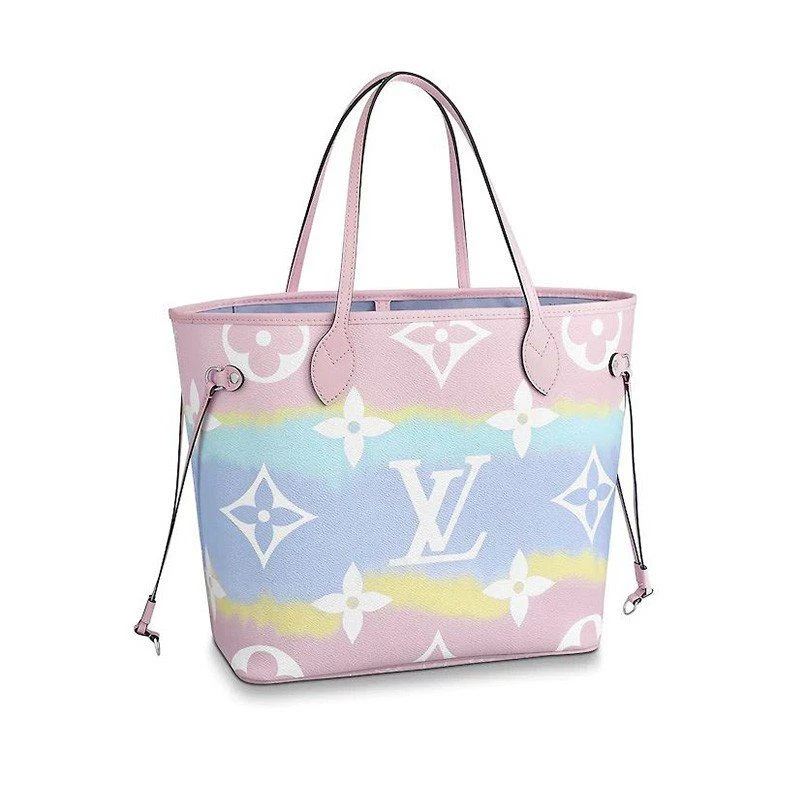
The Gucci Giglio large tote is described with a detachable pouch. The Louis Vuitton M13192 Neverfull MM lists a removable zipped pouch. The Louis Vuitton M45270 Escale Neverfull MM listing describes a printed zipped pouch and mentions an interior ring for keys or pouches. Open the exact listing you are considering and compare what it says and shows. Closely related models can have different interior details.
Check whether any description of a loop or ring refers to the tote, the pouch or both. An attachment point on a tote can let you reach small items without searching the bottom, but it says little about how far the pouch will travel before it must be unclipped. If a close-up is missing, ask where the connection sits relative to the opening and how the included pouch attaches. Also ask whether the product variation you plan to select includes the same accessory. Get the answer against the exact product reference instead of assuming it applies across the collection.
If you intend to use a pouch as a separate carry piece, check for the required attachment or grip. Some pouches are convenient to carry in a hand. Some can take a compatible strap. The listing needs to confirm any strap that comes with it. A tether used to keep an accessory inside a bag should not be treated as a handle unless it is specifically designed for that use.
Compare the empty and full profile
A flat pouch is often photographed with little or nothing in it. That shows its shape, but the test for capacity starts when the pieces you plan to carry are inside. The material has to wrap around their thickness. Put a key case, wallet or pair of earbuds together and look at the deepest point of the bundle. A rigid object and a soft object with the same overall size create different profiles. A smooth card sleeve can lie against a side wall. A key case with several protruding objects can push out farther in one spot.
Check the opening of the pouch as carefully as its outer measurements. If it closes with a zipper, note how far the zipper opens and whether the corners narrow the route into the main compartment. A long object can be small enough on paper and still catch on the sides of a short opening. A short object with protruding corners may need space for fingers and an unobstructed path at an angle. See whether you can imagine getting the item in and out while holding the pouch in your usual position.
Make two lists. The first is the smallest practical set you might want to remove together, such as a cardholder and a key. The second is the set you would carry if the pouch replaced a separate small bag for part of the day. If those lists are substantially different, test them as different use cases. A pouch that works perfectly for the first can become difficult to close with the second. You may be better served by putting only the regular items in the pouch and treating the other items as part of the main tote load.
Pockets and seams can also change the full profile. A partition can keep two small pieces apart, but that partition may prevent a bulky item from spreading into the rest of the pouch. A thick zipper or padded panel can occupy space that looks available in a flat photo. Compare the profile at its deepest point with the usable width inside the tote. Where the full pouch sits matters more than how compact it looks when photographed alone.
Trace where the pouch actually hangs
Locate the attachment point in the tote photos or inside a bag you already own. If it is near a high side wall, the pouch may hang flat against that wall when lightly loaded. If the tether is long, the pouch may swing inward or rest on the bottom. When a tether starts lower in the bag, the pouch may be harder to pull out while the tote is still on your shoulder. These are potential behaviors. You can check them by placing a comparable pouch in the position shown and moving the bag gently in a controlled setting.
Think about the path the pouch takes when you retrieve it. Does it emerge through the full opening or have to pass around a bridge clasp? Do you have to move a bottle first? Can you lay it across the rim while unclipping it, or will it need to be supported in your hand? The most convenient position keeps the item easy to find without putting it in the path of everything else. Test with a full pouch because a loaded shape may touch parts of the opening that an empty one clears.
If the tote includes a separate inside pocket, compare that pocket's height with the hang point. A pouch resting against a pocket can hide its opening. A high attachment can make sense when it lets you access the pouch without moving an item from the base. An attachment on the opposite side from your dominant hand might change the way you reach into the bag. Try the path from the side on which you actually carry it.
A loose pouch is a valid arrangement too. Removing a tether can make it easier to shift the pouch between sides or lay it horizontally. You lose the fixed point that makes it easy to find. Choose the position that serves your routine. A separate, bright lining or a recognizable shape can make a loose pouch easy to locate when you do not need it held at one end.
Map the footprint of the main load
Draw a rough overhead sketch of the tote floor on paper. Place your daily items on the sketch and mark where each one would stand or lie. Make room for the longest item and the one you reach for first. Then place a full pouch in the approximate position shown in the listing. Check which part of the tote it occupies. A pouch on a side wall can save floor area while reducing the width available for a flat notebook. A pouch at the base can use floor area while leaving the opening clear.
Move the pouch to a second location and compare the result. In the first arrangement, try standing it upright at one end. In the second, try laying it next to a flat item. Watch how the profile of the tote changes. A wider load might make the bag feel farther from your body even when the fastening still closes. A tall load might make it hard to see the interior. Select the arrangement in which the bag still sits and opens comfortably.
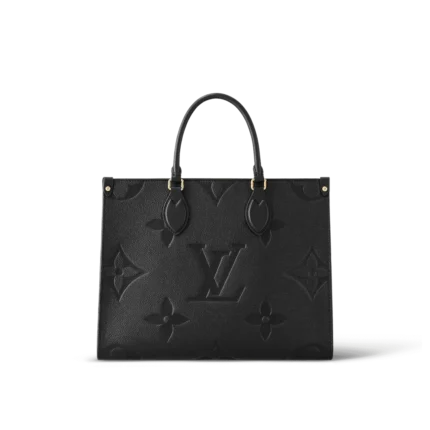
Compare with a tote that has a different organization layout. For example, the Louis Vuitton M45595 OnTheGo MM listing is useful as another interior to examine. Use the current description and photos to see what is offered on that product. The comparison lets you decide whether a detachable pouch does something a fixed pocket or a pouch you already own cannot do. It is a test of how you pack, not a reason to assume the same accessory comes with every tote.
Include one occasional load on the paper map. A slim folder, folded layer or small purchase may need a wide, unobstructed area. If it only fits with the pouch out, decide how often that happens. You can use the pouch on light days and move it to a different position on heavy days, provided the change is easy enough to make. A layout that needs extensive rearrangement for a common errand may be too complicated for the benefit it offers.
Give the pouch a specific job when it leaves the tote
If the pouch travels between two bags, do the switch with both bags packed as usual. Test where the pouch lands in the smaller bag and where the tote's keys or phone will go while it is away. This makes the transfer a full packing decision. A pouch that fits in both bags can still require two different homes for the item you reach for most.
It is easy to imagine a removable pouch as a second bag and then leave it attached for the entire day. Give it a clear role before deciding how much value to put on the feature. It could carry the few pieces you want at a counter, keep a room key and card together at a hotel, or hold the essentials you move from one larger bag to another. Each role has different requirements for opening, grip and capacity.
Practice one short sequence. Pack the pouch with the items for that role, leave the tote on a stable surface and remove the pouch in the order you would use it. If you cannot unclip it without unpacking part of the tote, the detachable feature may not help when you are in a hurry. If you remove it easily but then need to go back for your phone, reconsider which pieces belong together. The useful arrangement moves everything you need for the short task in one step.
Consider the return path as well. After the errand, the pouch should go back to a position you can use consistently. If it is clipped back in with the zipper facing the wall, you may have trouble reaching it later. Give it an orientation you can repeat. Make sure keys and other hard items are placed so they do not press into a vulnerable corner of the bag. A pouch can help separate objects, but it is not a substitute for suitable protection for electronics or items with sharp edges.
If you want a pouch to transfer among several totes, list what stays in the pouch and what stays in each bag. Moving only the daily essentials helps you avoid duplicating small items. Keep any bag-specific accessory with the bag where it is useful. An attached pouch can stay with its original tote if it solves a different problem. There is no requirement to use every included feature in every routine.
Try a half-day test with a substitute before choosing
If you are comparing listings and cannot handle the bag, test the idea in a tote you already own. Use a pouch with roughly the same outer shape as the one shown, or make a paper mockup to understand the width and height. Put realistic items inside the substitute. Use it loose first. If the existing bag has a compatible attachment point, position the pouch without forcing or altering anything. This is a rehearsal for access and arrangement, not a guarantee about the new bag's fit.
Try four ordinary movements. Remove the item you use most often. Take the entire pouch out. Replace it without reorganizing the main load. Then place a flat item in the remaining space and fasten the bag. The first movement checks convenience. The second checks whether the pouch is genuinely easy to detach. The third checks whether the organization is repeatable. The last checks whether the arrangement leaves the tote useful for more than the contents of the pouch.
Note the reason for every failed movement. A pouch might be fine and the tether too short for the way you carry the tote. A full pouch might work on one side but block a pocket on the other. A flat item might fit only when the pouch lies horizontally at the base. Use the result to refine your questions. “Where does the full pouch sit relative to the opening?” is a more helpful question than “Is the tote roomy?”
Look for the same information in the totes collection as you compare several listings. Keep the exact product reference beside each note. When a gallery provides a clean view of the opening, save it as a useful reference. Ask Integrity Bags support about an included piece or attachment position that is still unclear. Measurements, photos and a test with your own items work together to make the comparison more concrete.
Decide which arrangement is worth keeping
Compare the tote in three states. Look at the open space with the pouch removed. Look at the position of the empty pouch when it is attached. Finally, imagine or test the complete load with the pouch full. If one of the states would be useless to you, treat that as a signal about your priorities. You may prefer a clear interior and a pouch only on days when you need to move essentials between bags. You may prefer a fixed pocket if you seldom detach anything.
Use a simple final note. Record the included accessory, its attachment point, what you can get out of it with one movement and which large items still have room when it is full. If you expect to carry it separately, add a line about how you will hold it. This record makes a shortlist easier to revisit because it describes a real arrangement rather than a label on a listing.
The removable pouch earns its place when it makes at least one common movement easier and still leaves the tote useful for the rest of the load. That might mean organizing the items you move between bags, finding a card without searching the bottom or leaving the large tote behind for a short task. Choose based on the movement that matters most to you and the clear space you still need.
Compare these products