Blog
OnTheGo PM vs MM for Workdays, Errands and a Longer Carry

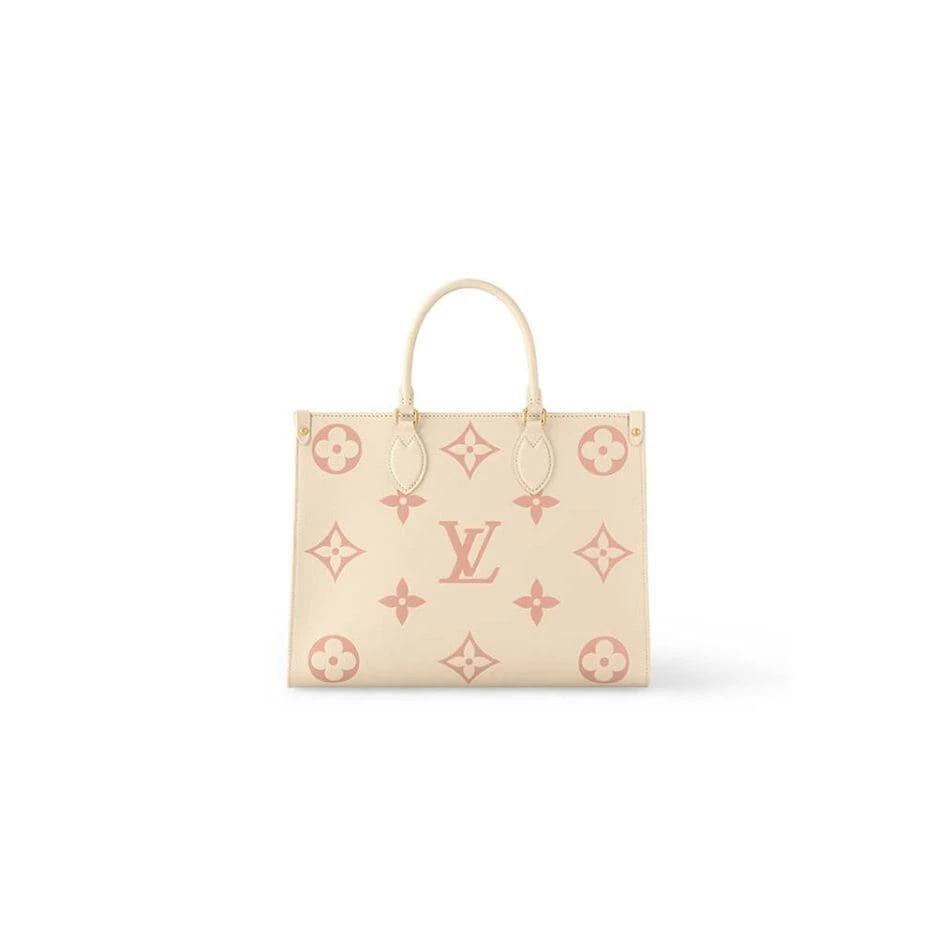
A structured tote makes a strong case for itself when you are looking at a product photo. The lines are easy to understand and the shape suggests an orderly interior. The decision becomes harder when the bag needs to work for a trip with a coffee, a transit card, a notebook and a heavier item that changes the way you carry everything. That is where a direct comparison between the OnTheGo PM and MM helps.
Start by separating three decisions that tend to get blurred together. You are choosing the exterior shape, the way your belongings can be arranged inside it and the carry options of an individual listing. A larger shape solves the first two only if it accommodates your actual load. It cannot tell you how the bag will sit on your body or whether a strap shown in one listing comes with a different model.
Put the four references on one page
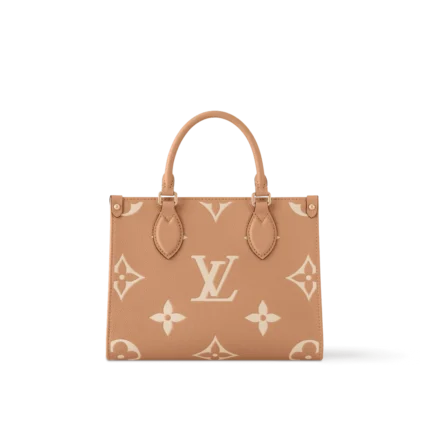
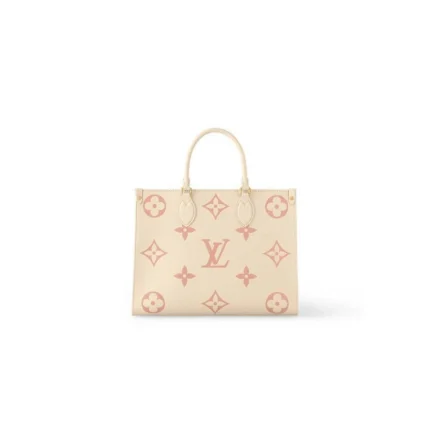
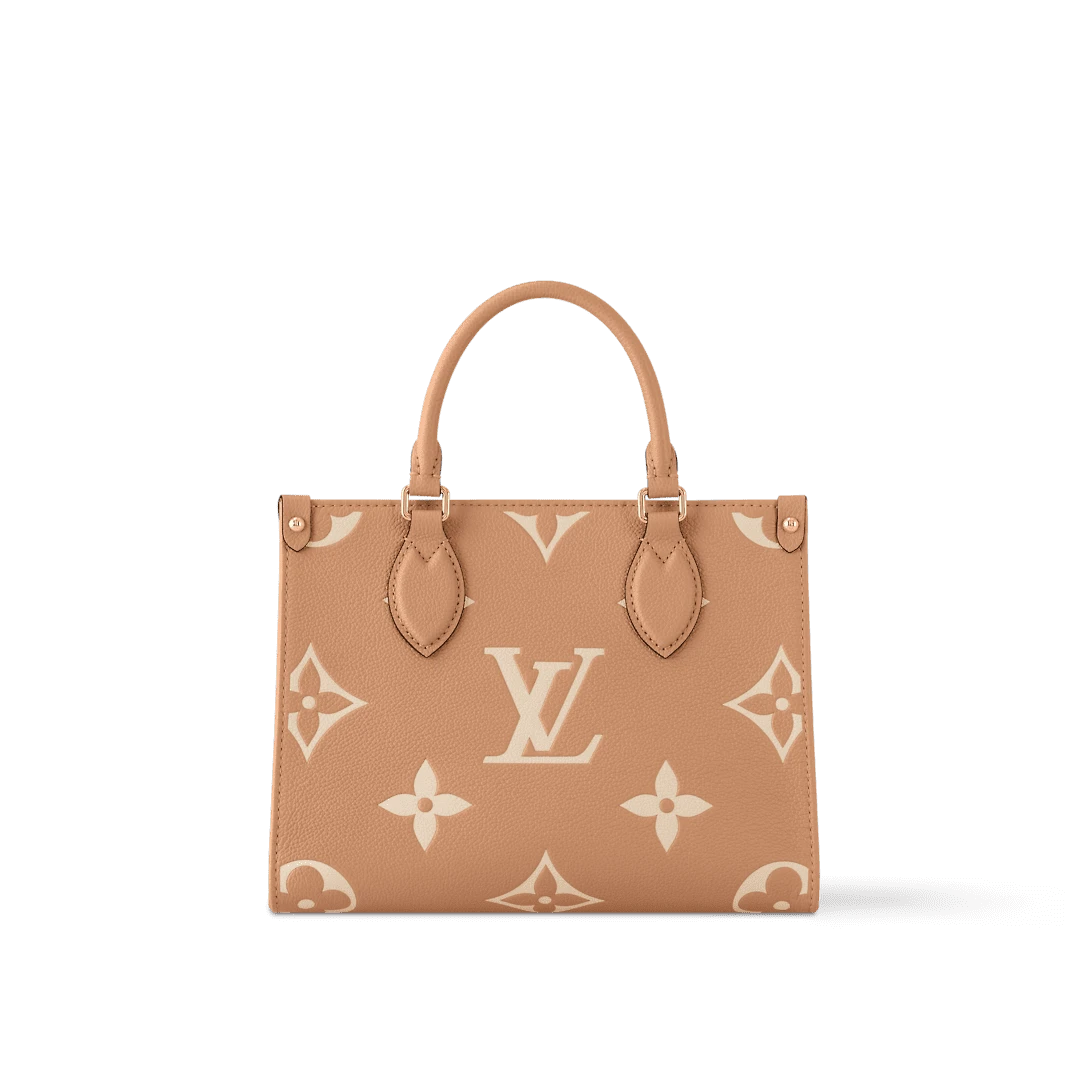
The OnTheGo PM M12513 lists 25 × 19 × 11.5 cm. The OnTheGo PM M45654 lists 24 × 18 × 11 cm. The OnTheGo MM M21575 and OnTheGo MM M46286 both list 35 × 27 × 14 cm.
Think of those as four distinct entries. The PM examples differ by a small amount. The two MM examples give you a chance to compare how the same listed dimensions look in two sets of photographs. Check the top, base, lining and handle attachment views before choosing either one. When two models share dimensions, those views and any accessory notes become more important to the buying decision.
If you are comparing an existing bag, use the same measurement order for both. The easiest way is to draw a rectangle for the base and then write the height beside it. Keep a note that these are exterior dimensions. A product description with three numbers cannot tell you the clear opening, thickness of any internal divider or whether a rigid object must enter diagonally.
Identify the item that sets the size
Most bags have a single object that dictates whether a load fits easily. In a compact tote it could be a long wallet. In a work bag it might be a rigid document folder. Neither object is especially bulky in isolation, but both can occupy the space that makes the rest of the load easy to reach.
Lay out what you carried yesterday. Then remove anything that only happened to be in the bag, such as an old receipt, a second charger or a paperback you finished. Add one thing you reliably need later in the day. Measure the longest hard item with its case, the thickest one with its cover and the object you most frequently need to remove. They can be three separate things. That is important because the smallest bag that can technically hold the longest item may still perform badly for the other two.
Suppose the rigid item is a notebook in a hard cover. In a PM it may take up most of one side and still leave room for small things at the bottom. If a charger pouch sits next to it and presses on the cover, removing the notebook becomes an activity instead of a quick reach. With more width and height, the MM might let that notebook occupy a more convenient position. Test the setup against your actual dimensions rather than assuming that a bag with workday proportions will carry every type of notebook.
Compare the bases using empty boxes
A paper outline is useful, but a structured bag also asks you to think about what happens at the edges. Put two empty boxes on the table and move them around the longest rigid object you carry. Use one for a drink container or glasses case and the other for a soft pouch. Keep the base of the pretend bag the same size as the selected listing. Without adding force, try to rotate the boxes and take the rigid object out.
The PM M12513 gives you a nominal base outline of 25 × 11.5 cm when you use the first and third figures. With narrow boxes, you might make a useful row along the base and retain space for a hand to reach between items. A thicker piece can take up most of the available depth. The slightly smaller published figures for the M45654 are enough to justify its own test if the larger outline was already tight.
The two MM listings give a nominal 35 × 14 cm outline. Ten extra centimeters of length can create a second zone for belongings while the depth changes by a smaller amount. If one compact container fits only when placed lengthwise, this extra length might let you maintain a clear route to your phone. You may learn that the larger shape is valuable even if you rarely fill it all the way.
The simulation is intentionally imperfect. Real bags have seams, interior surfaces and other features that reduce usable room. Its job is to expose difficult combinations early, especially those that require pushing on an imaginary wall or turning a bulky object in a space you cannot see.
Plan the way you change carry modes
Think through a trip that includes walking from a shop, tapping a card at a barrier and stepping onto a bus. You may want the bag carried low for part of the walk and close to your body once you need both hands. Sometimes the problem is not a lack of carrying options. It is that the route between those options is clumsy with the bag loaded.
Study the exact listing for handle placement, strap hardware and what is included. Pay attention to a side view where the strap attachment is visible. If a detachable strap is an important part of your plan, confirm that the product description and photos refer to the option you are selecting. A strap that looks long enough in a photo might sit higher or lower on you when adjusted.
Try the movement with a bag you already own. Pick it up by the handles, transfer it to your shoulder and take out the item you need at the barrier. Test with a winter layer if you wear one regularly. If you have to keep the tote far out from your body to make the transfer, the problem may become more noticeable with a wide exterior. A simple change such as switching which shoulder you use can make the rehearsal more realistic.
The PM is worth a look when you need a smaller footprint during those changes. The MM is worth a look when access to an internal object is the difficult part. These two needs can conflict. Make the choice based on the part of the trip where you currently spend the most time shuffling things around.
Build a layout for two actual workdays
For a short office day, assume you will have access to a desk and somewhere to leave a water bottle. Pack a wallet, glasses, notebook, phone and a small case. Give the objects you reach first their own position. This kind of load may suit the compact outline of a PM. The test should include what you do between arriving at the office and leaving, rather than just a straight walk from your door to a desk.
For a longer day, include the meal container and the items you carry when you work away from a familiar desk. If you use a pouch for cables, keep it next to the item it supports rather than automatically placing it at the bottom. Now check whether you can get to a pen and badge while the larger pieces stay in place. A successful MM layout offers room for retrieval as well as room for storage.
Consider how the day ends. When you bring something home that you did not have in the morning, there should be a clear space to add it. If you usually return with a folder or a compact purchase, use an empty folder or small box to simulate that addition. It is easy to underestimate this need when you only test your bag with the smallest possible morning load.
Test the setup beside a chair and on a narrow shelf
Many people compare structured totes on a wide tabletop, which is the most forgiving place to put them. Try a narrow shelf instead. Use a flat paper footprint for each size and choose a place that resembles your work area. A 35 cm outline can work easily on a desk and still be awkward beside a chair when you need to stand up without moving the bag.
Practice reaching into a bag near the height of the surface you use. If the opening sits below your natural hand position, consider how much of the bag you have to see to locate a small item. A structured form with an organized layout can be helpful there. If you must put the bag on the floor to get it out of everyone's way, a bright pouch or a consistent pocket can be more useful than another few centimeters of width.
The same check applies at home. A tote you use every morning needs a predictable place where you can set it down and get your keys out. A compact position beside a doorway may suit the PM, while a designated shelf can make the MM easy to manage. If you have a good storage arrangement, the larger model's footprint becomes less of a disadvantage in the rest of your day.
Compare the listed finish in the way you will use it
Look at the listing's finish in a close product photo, then take another look at the same finish in a wider image. Use the close view to understand texture and edges. Use the wider view for contrast against the hardware and handles. Do this for the exact reference you would select rather than assuming that two bags with the same dimensions have the same surface.
If you are using the bag for work, picture it next to the outerwear you already own. Think about where the bag will touch your sleeve and whether the handle color is visible when carrying it. For a weekend bag, compare it with the clothing and footwear you actually bring instead of building a new wardrobe in your head.
A product option is relevant when it changes the parts that contact your body or changes what you see most often. An especially appealing front view can distract you from a handle or side finish you will encounter on every trip. Open the site's customer photo archive if you want an additional view of a listing that has customer photos. A reviewer's way of packing or wearing a bag is one example to consider alongside your own measurements.
Check for a gap between taking an item out and putting it away
A bag can be easy to unload in the morning and awkward to repack in the evening. At the beginning of the day, the items are still arranged on a table. Later you may be returning a folder to the tote while standing at a busy counter. The movement needs enough clearance for your hand as well as for the folder. Use a place with a similar height for your rehearsal. Try it while holding a jacket in your other arm if that is how you normally move between appointments.
Make a small temporary parking space for your keys while you put the folder away. A shallow pocket may do the job if the opening stays accessible. If you would use a separate pouch, check whether it remains in reach after the rest of the contents have shifted. Giving up one fixed position for the pouch can also make your load more flexible. You can move it toward the opening when it is needed often and return it to the bottom when you are walking a longer distance.
The bag that suits you is the one you can close or settle comfortably after repeating the whole sequence. A design that looks wonderfully tidy after a careful five-minute pack may feel different when you have ten seconds to leave a meeting. For an occasional busy day, a tighter layout could still be fine. When the sequence happens twice a day, use the difference in packing ease as a genuine factor in the PM or MM decision.
Keep a small comparison record
Save a note with the product reference, its three listed figures, the largest object you expect to carry and the question you would ask before ordering. Add one simple result from your test, such as which bag outline allows both a notebook and a glasses case without stacking. If you find a third listing later, you can add it to the same note without recreating the trial. That gives your shopping process a consistent standard even if a different finish or price draws your attention back to the series.
If the tote will share a chair or an under-desk shelf with another bag, measure that space before comparing the two sizes. A shelf lip may be tall enough to catch the tote's base, and a desk drawer can take away some of the height you measured in an empty cubby. Re-create the opening with a shoebox lid and a strip of cardboard. Move the tote-sized outline into the space from the same angle you would use at work, then pull it back out while reaching for the handles. Record whether the extra width of the MM gives you better access to your things or simply gives the bag a tighter parking space.
Make the PM or MM decision in writing
Choose an exact PM and an exact MM and record a reason to pick each. A useful PM reason could be that you can carry it while holding a drink and retrieve your wallet without putting the bag down. A useful MM reason could be that your covered notebook stays separate from a meal container. These are more dependable than a general impression that a tote looks big enough.
Write down any unresolved facts, especially a missing opening measurement or a question about an included strap. The Integrity Bags contact page lets you ask using the exact reference. Include one or two object measurements and describe how you expect to carry the bag. That gives the store something specific to answer. Check delivery information directly if the bag is for a particular date.
If your priority is a smaller exterior and the shorter day test was comfortable, begin with the PM listings. If frequent access to separate objects matters and the wider footprint works with your travel routine, move the MM higher on the list. If both are promising, repeat the test in a crowded space or beside the desk where you most often set your bag down. The reason one model stays on your shortlist should be something you can demonstrate with the items you already own.
Compare these products