Blog
How to Compare Sneaker Size Charts and Find a Comfortable Fit

An EU label looks familiar when you have worn several pairs with the same number. It becomes less useful when a new listing shows centimeters, a unisex conversion, or a chart with no explanation of what was measured. A better way to compare sneakers is to start with the length and width of both feet, then put each chart's numbers into the correct category before looking up a label.
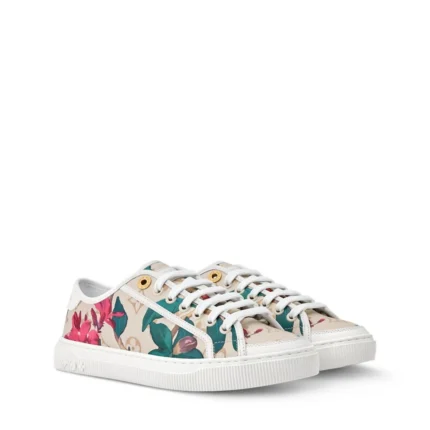
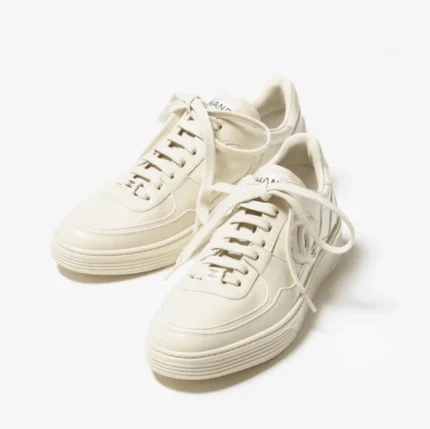
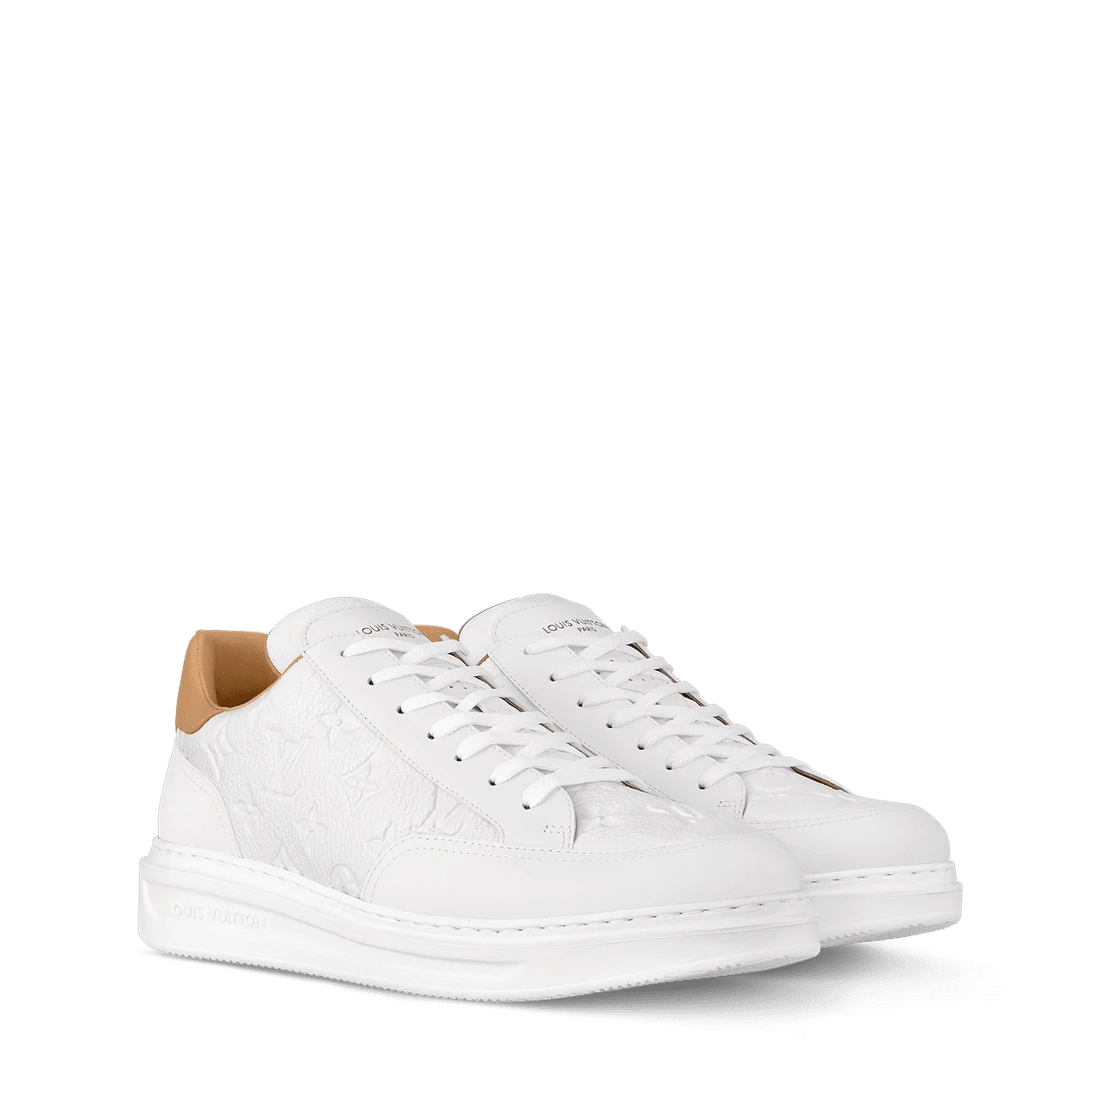
A size chart can guide the first choice. A photograph of the upper, a comfortable reference shoe and a short indoor fit test answer different parts of the question. Keep the information separate as you compare sneakers such as the Beverly Hills Sneaker and the Women's Screener Sneaker. This makes it easier to see where you have evidence and where you need one more measurement.
Build one consistent record of your feet
Stand on a hard floor with a sheet of paper against a wall. Put on the socks you expect to wear most often. Place one heel lightly against the wall and settle your weight onto the foot. Mark the tip of the longest toe and measure from the heel reference. Do the same on the other foot. Use a straightedge or a helper if you are likely to lean forward and alter your stance while making the mark.
Mark the widest part of each forefoot with the pencil upright. A slanted pencil adds a small margin outside the foot on one side and may remove it on the other. Write the results in millimeters or centimeters. Measure again if a line falls differently on a second attempt. This setup follows the same broad principles as Clarks' published measurement instructions. Use the chart for the exact shoe when it is time to translate the result into a size. Clarks foot measurement instructions
Try to measure at a time that resembles when you will wear the sneaker. If you plan to use it after a workday, check again later in the day. Make a second record if you regularly swap between thin socks and noticeably thicker socks. The goal is to see whether ordinary changes bring you close to a size boundary. The two readings can be more useful than an especially precise number from an unrepresentative setup.
Keep the individual measurements for the two feet rather than reducing them immediately to a single number. Your longer foot may need more front room, while the other foot may be wider. That gives you two conditions to satisfy. A chart based only on length can suggest a starting size, and the shape of the shoe can still rule it out for the wider foot.
Name the measurement before comparing any numbers
A foot-length chart relates a measured foot to a size under a particular guide. An insole-length figure tells you about an internal component or a measured length inside the shoe. An outsole-length figure describes the exterior sole. The numbers can all appear in centimeters. A direct comparison only makes sense when you know which kind of length you are using and how the seller measured it.
Some charts use a column such as CM alongside other labels. Read the instructions or notes before assuming that the number is either a precise foot length or the measured interior. A sizing system can express a nominal length in centimeters. A listed internal measurement could also include a curved heel cup or a narrow front extension. The chart's method tells you what you may compare with a tracing from the floor.
If the page gives insole length and your old sneaker has a removable insole, measure that old insole separately. First confirm you can remove it without damage. Record its centerline length and approximate widest point. Compare it only to another insole dimension taken in a similar way. Then remember what the old shoe felt like. You gain a useful comparison from the combination of a measurement and known fit.
Outsole length can help judge the visual proportions of a sneaker, especially if the sole extends well behind the upper. It is a poor proxy for the room at the toes. One sole can be wide at the bottom and narrow inside. Keep exterior length, footprint and internal fit in separate notes even when a listing provides all three.
Read the exact chart before converting labels
Find the size guide associated with the item or the option. Confirm the chart applies to the intended collection and audience. Some charts include men's, women's and unisex columns. If you follow the wrong column across a row, every other detail in the calculation may be correct while the order option is still wrong. Copy the intended label exactly, including the size system.
New Balance's official guide is a useful example of chart structure. Its men's and unisex section distinguishes men's US, women's US, UK and EU columns and also lists length. Width appears in another table. The rows are an example of how a guide can organize information. Use the exact chart for the sneaker you are purchasing. New Balance size and width guide
Compare two sizes around your measurement and note the step between them. Do not assume each neighboring size is separated by a fixed amount across every chart. If your longer foot is near a boundary, you need to know how the specific guide handles values in between. A table with a recommended range is different from a list of single reference points. Search for the guide's explanation before making an arithmetic decision.
When you open the LV Lagoon Sneaker listing and a second listing, capture the options that are actually available. A chart may list many sizes that are not currently an option on the item. If the size you need is unavailable, carry your measurement to another style. This preserves your fit criteria without relying on a neighboring size simply because it is visible.
Use width and toe shape to break a tie
Trace or photograph your foot outline from directly above, with a scale beside the paper if you want to compare it later. Note whether your toes form a fairly square line or whether the longest toe is followed by a strong taper. Two feet of the same overall length can occupy the front of a shoe very differently. A product's side profile offers little information about this shape.
Look at a top-view gallery image and observe where the upper begins narrowing toward the toe. If your little toe often touches the side of a sneaker, a broad-looking outsole is not enough to resolve the issue. Look for interior width information or a documented width option. If the shoe is not offered in widths, choose based on the available evidence about its shape rather than assuming its external outline gives you the answer.
Try the same exercise with a sneaker you already know. Look at where your widest forefoot sits on the insole, if you can check without changing the shoe. Notice whether the upper presses at one side when you stand. Your reference could be generous in length and still narrow around your toes. This makes it useful for diagnosing shape and a less useful model for copying the nominal size.
Consider instep volume separately. A shoe can fit across the forefoot and still press at the top under the tongue. Think about how far apart the lace rows sit in a familiar comfortable pair. You do not need the same distance in every shoe. A photograph showing the tongue and lace arrangement can help you ask where the exact candidate adjusts if the pressure tends to occur there.
Compare the lacing and collar under a realistic load
Begin with your ordinary lacing tension. Tighten the sneaker evenly enough to keep the foot stable while giving the toes room to rest. Then walk several normal steps. If the heel rises out of position repeatedly, notice whether a modest lacing adjustment helps. If you have to draw the entire upper tight to get stability, look at where that tension concentrates and how it changes the room around the front.
A padded collar or tall upper can make the back look particularly secure in a photo. Your experience depends on where that collar meets your heel and ankle. Sit, stand and walk again after adjusting the laces. Check whether the pressure stays at the same point. A slight change in lacing may make a difference to top pressure, while an edge repeatedly meeting your ankle in the same place suggests a shape issue.
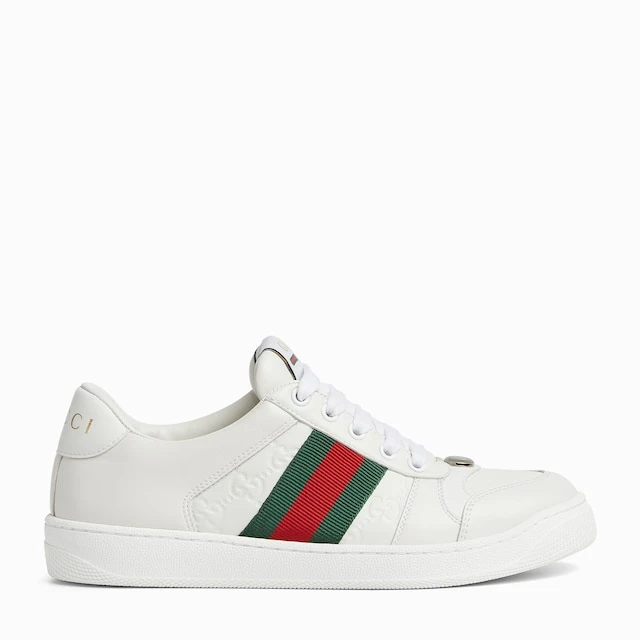
Compare the Women's Screener Sneaker and the Beverly Hills Sneaker with attention to the parts that can be seen. Locate the collar edge, tongue and lace rows. Ask for relevant measurements if you have a specific issue. Gallery images help you anticipate where to check contact, while exact fit still depends on the particular model and foot.
If you wear an insert or use a particular sock, compare with that setup when appropriate. Adding a layer under the foot can raise the heel relative to the collar and reduce the space above the toes. Make sure the fitting setup matches how you will wear the shoe. Treat the compatibility of any insert and the shoe as a separate question if the listing gives limited information.
Handle two common size-chart dilemmas
Imagine your feet measure 25.1 and 25.5 cm in the socks you will wear. One chart associates 25.5 cm with a particular size as a foot-length reference. Another listing gives 25.5 cm as the measured insole length. Treating the two as equivalent would remove the difference between a person's foot and the space the shoe provides. In this example, use the first chart under its stated method and seek more context for the second measurement.
Now imagine your size range is clear, but only one foot often feels crowded near the little toe. The next length may move the wide part of the shoe farther ahead of where you need it. Check the shoe shape or a width option first. If no useful width information is given, compare with a model that has room in the appropriate part of the upper or seek a top view with an explanation of dimensions.
A regional conversion presents another common dilemma. A listing may display one regional size in the selector and another size in its guide. Save a screenshot or note of both. Confirm which label the seller expects you to select. Your real decision is the mapping from the guide for the exact item to the option you will order. A generic conversion tool cannot settle a mismatch in the listing.
If two charts disagree on the label but agree on the measured input, accept that the labels can differ across models. Decide from the chart that belongs to each candidate. If two pieces of information on the same page disagree, ask before ordering. Include the page link, the precise chart row, your larger foot length and the options you see. A focused question is easy to answer and easy to check against the listing later.
Use an indoor fit check that separates the main signals
Put both sneakers on with the socks you recorded, lace them and stand naturally. Check each foot while bearing weight. Notice the space in front of your longest toe and any pressure at the sides. Then walk, turn and stop. The shoe should have a chance to move with you before you decide whether it feels stable. A snug sensation on one side means little if you have not yet checked the other.
Take a few steps at a normal pace and check whether the toes strike the front as you stop. Notice whether the widest part of the foot feels pressed when you push off. Check for heel movement and whether an ordinary change in lacing improves it. Repeat just once after making that change. You will have a clearer comparison than you would get by repeatedly changing several settings at the same time.
For a sneaker intended primarily for long days, consider where the pressure appears and whether you can reproduce it quickly. You can detect many recurring contact points without wearing a new pair outside. Check the Integrity Bags return policy before using the shoes beyond any applicable condition. A clean indoor surface and a few minutes are usually enough to give the initial observations useful context.
Compare your first impression with the result after walking. If the length is good, the front stays comfortable and the heel feels stable after a sensible adjustment, the main indicators agree. If one foot remains crowded or keeps moving forward, go back to the chart and upper shape. Write down the specific movement or pressure so that you know what you need a second model to improve.
Keep a reusable record for the next pair
Save each candidate's exact URL, the available size, the unit and type of measurement, and any confirmed width information. Add your intended sock and the part of the foot that usually needs attention. If you received help interpreting a guide, record the answer next to the option it applied to. You can use Integrity Bags contact details for questions about a particular product page.
Choose the sneaker after those notes agree. For example, a model might fit the measured length, use lacing that adjusts across your instep and leave room on the broader foot. Another may look similar and offer less certainty about width. Both can be appealing in the sneaker collection, but the first gives you more reasons to believe it suits the job you have in mind.
Keep the size label after your fitting, along with the conditions that made it work. A note such as “comfortable with medium socks, room across the little toe, heel stable with even lacing” is easy to apply to your next search. It gives a future chart a realistic reference instead of asking one regional number to carry the entire decision.
Compare these products