Blog
What to Document When a Bag Arrives Damaged or Different From Your Order

You open a parcel and see something you did not expect. It might be a different color than the order confirmation, a missing piece that the listing showed as included, or a mark on a panel you have just unwrapped. Before moving the bag around or trying to repair anything, stop and write down what you can see. A short message with a clear reference and a handful of useful photos gives customer support a better starting point than a large collection of pictures with no labels.
If you need to raise an issue, check the current Integrity Bags Return Policy and contact customer support promptly. The policy currently describes a seven-day window from receipt for eligible returns or exchanges and provides conditions, requirements and exclusions. This guide helps you document what happened. The policy and the support team are the places to check the process for your specific order.
Start with the order record and the day you received the parcel
Find the order confirmation or the order view in your account. Record the order number and the date the parcel arrived. If one order came in more than one package, write down which package you are describing and the contents you found in that package. A date on a product listing or a shipping estimate serves a different purpose from the actual date of receipt. If you are unsure which day the delivery was made, look at the tracking record and note what you can confirm.
Identify the specific line item. Copy the title and any size, color, style, material or other option that appears on your confirmation. Copy the quantity for that line if it is relevant. Orders with two similar-looking items are easier to review when each item is named individually. If a product page has been updated since you ordered, your original confirmation remains the clearest reference for which option you selected. Use the link and current listing details as helpful context after you have identified the order line.
Make a simple note of what you observed as you unpacked. For example, you might write that the outer carton looked intact and the first visible issue was on the side panel when you lifted the bag. In another case, you might record that the packaging label and the order confirmation show different option names. Write events in the order they happened. Leave any cause you cannot see as an open question. A direct observation gives support something to compare, even if the reason for the difference is still unknown.
Separate a wrong option from a condition issue
If the item seems to be a different option, check the record that names what was ordered. Then identify the corresponding name or feature on the item you received. For a size issue, keep the item and its original tag together if a size is printed. For a quantity issue, identify the order line and the number of pieces you actually received in the relevant parcel. If the order is still arriving in parts, state which parcels you have received to date. This allows support to compare the item or quantity against the order without guessing which feature you mean.
For a condition issue, name the part of the bag and describe what you see. Start with a location such as the lower rear corner, the inner side of a strap connector or the front edge of the flap. Then describe the appearance in ordinary words. A short observation such as a raised mark near a seam is more useful than trying to name a manufacturing defect. If the issue appears when a normal closure is moved, describe exactly when it happens and avoid repeating a movement that puts the part under pressure.
Color can call for a little extra care. Product photos are taken under lighting that may differ from your room, and screens can show shades differently. Photograph the item in even neutral light and include any relevant option label. If the order says one color and a label identifies a different one, lead with the label and the order. If the question is about visual appearance, say which images you are comparing and share an even-light view. A precise observation leaves room for support to check the option rather than having to interpret a broad statement about color.
Take a whole-item view, a location view and a close view
Start with the whole item on a clean surface in even light. Let the bag sit in its ordinary position if the condition allows it. Use the entire bag as the frame so the angle and shape are easy to see. Photograph the original packaging separately if there is a visible issue there or if the contents matter to the report. If an item arrived in a position you think is relevant, record that first and keep the original photos.
Take a second image that shows the issue in relation to the bag. For instance, include enough of the top edge to show which handle connection you mean. Leave a familiar feature in the frame, such as the corner seam or the closure. Then take a close view that shows the specific mark or part. Tap to focus if your camera allows it and move away a little if the details are blurry. You can send both images so support sees the location and the detail. Retain the originals and avoid filters that change color or contrast.
If there are two separate observations, document each location once. A close view of a mark in isolation can leave several possible interpretations, while a pair of well-framed images can be read in a few seconds. Numbering the files or naming them in your message gives support a short route through the evidence. A whole-item view, a corner view and a close view are usually more helpful to start with than ten almost identical closeups of one area. Add another angle when it reveals something the first views do not show.
Compare what was included with the selected listing
Accessories are easy to mix up when a product has a detachable strap, chain, pouch or case. Use the selected product listing together with your confirmation. Check whether the description identifies the piece as included, whether it is optional and whether the photograph shows it on the same selection. Some galleries include styling items or display a bag from different angles. The product description and the specific option provide the more useful reference for a question about contents.
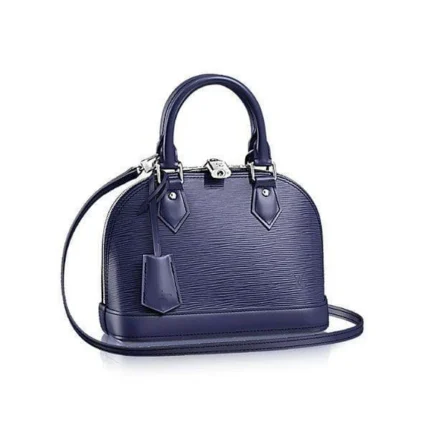
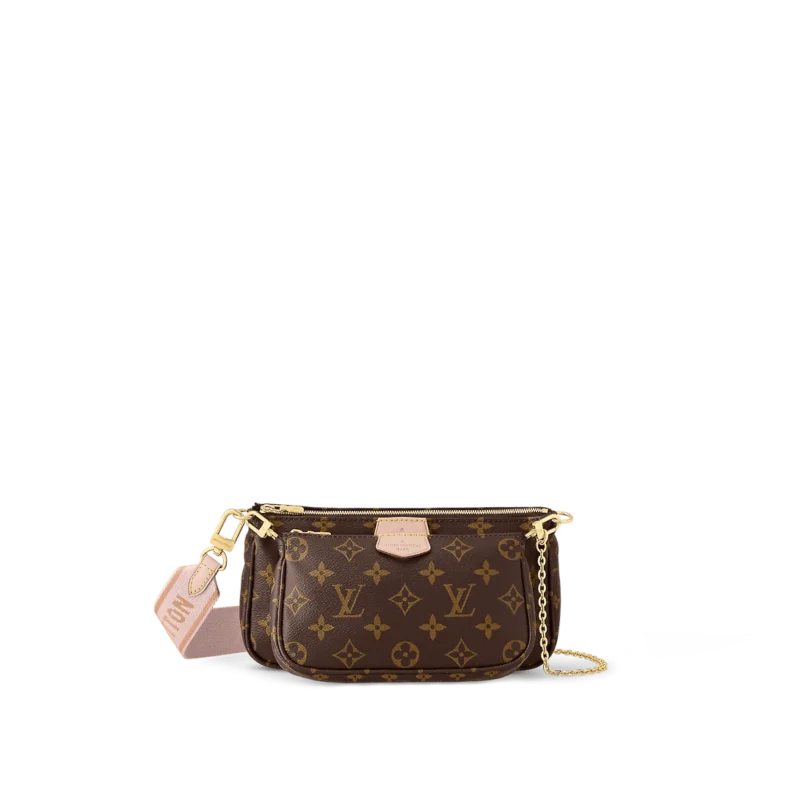
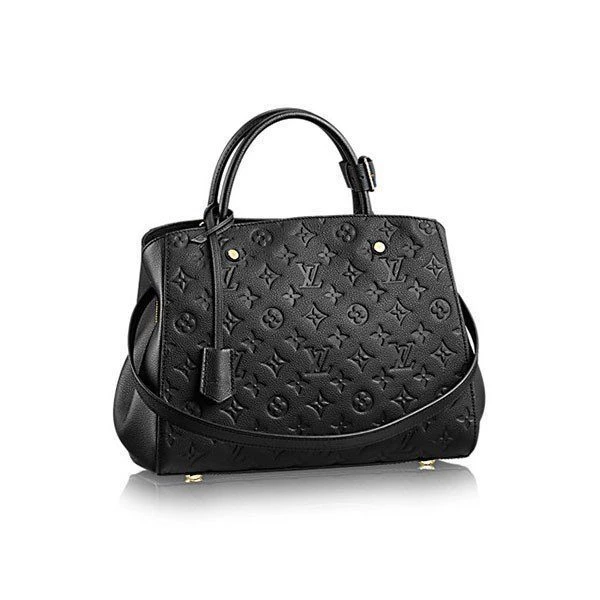
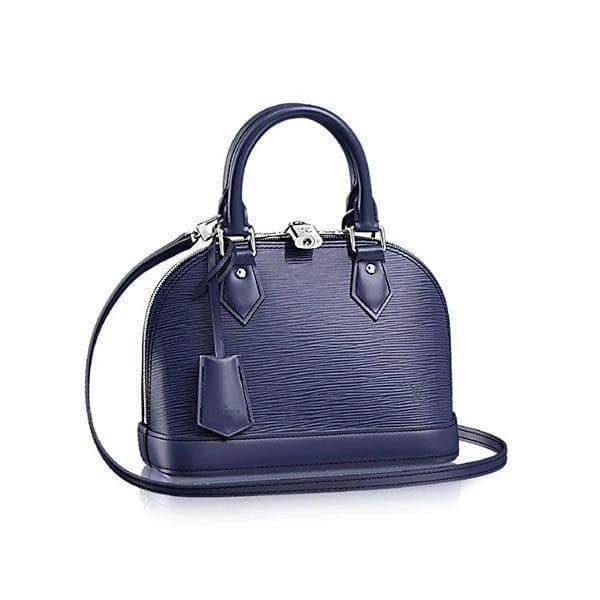
Look at the Félicie Pochette M82610 as an example of how to identify a removable part from a listing. It describes a removable chain and removable pockets. In a support message about a product with several pieces, name the particular piece in the listing and photograph the contents that arrived in the package. The Alma BB M40855 and the Montaigne MM M41048 illustrate another comparison problem. A model code in a product title makes a more useful order reference than a general description of a top-handle bag. These listings are examples of how to read a product page.
If you are documenting a missing piece, put the items you received together on a clean surface and take one view. List the pieces you can positively identify. Check the original packaging and any appropriate pockets gently while keeping the item in its received condition. Photograph the relevant tags or packaging if they help tie the item to the order. Then state which part you expected and why. A support agent can compare the line item, the option and the pieces in the package as three distinct details.
Keep the item and its original packing together
Save the carton or shipping bag, protective wrap, tags and any leaflets, dust bags or carrying cases that came with the product. Keep them together with the item while you contact support. The published policy describes original packaging and an unused item among the return requirements. If there is a visible issue on the packaging, take a photo and leave it available for the review. A photograph from the time the parcel was opened can help explain which part was affected and where it was relative to the contents.
When you suspect a loose connector, stiff closure or another condition issue, handle the item as gently as possible. Leave any alteration, cleaning or attempted repair aside while waiting for guidance. Avoid adding marks during documentation. A bag can usually be photographed without loading it or hanging its full weight from a part you are reporting. If a movement is important to explain the problem, describe it first. Share a short clip only if you can show the issue safely and the support channel accepts it.
If you have more than one item under review, keep each set of packaging and accessories together. It is easy to put a removable piece in the wrong dust bag while taking photos. Label the containers for yourself with the order line or product name. Keep the photos in separate groups too. This matters when two items look similar or a packaging label refers to the order rather than to the individual piece. The work of documenting should preserve the way the parcel arrived as much as possible.
Send private evidence through customer support
Use the current contact details on the contact page or the return policy. Send the order number through the official private channel. A parcel label can include an address, phone number, barcode and tracking details. If one of those images helps explain a packaging issue, photograph only the relevant area or make a separate copy with unrelated private information covered. Keep the unedited image for your own records and share additional details only if needed through the official channel.
Check the background of photos before you send them. An order document left under the bag can include names or addresses. A screen may show another order, a chat or details from an account. Crop a copy to the relevant area, while leaving the bag itself and the issue visible. A photo that focuses on the needed information is usually easier to read. Keep payment card details, account passwords and one-time codes out of the request. The store can identify an order from the order number and relevant order information without those details.
A concise subject line can identify the order and the type of issue. In the message, write the receipt date, the item and option shown on the order, what you observed and which photos are attached. Add a clear question asking for the next step for the order. If you have a preferred outcome, you can state it as a request while support checks the relevant conditions. Preserve the first message and any reply so you have one record of the case, including when you contacted the store.
Write a first message that support can follow in one read
One practical format is a few short paragraphs. In the first, identify the order and when it arrived. In the second, identify the affected item by the name and option shown on the order. In the third, describe what is different or damaged and say where the photographs show it. Close by asking for the next step. The message can be clear without a long account of everything that happened before you received the parcel.
For a wrong-option case, the important comparison may be between the selected option printed in the confirmation and a different name on the received item label. For a condition case, a useful sentence describes which corner, seam, panel or connector you are reporting and when you first saw it. For a quantity case, identify the ordered and received amounts for the same line and say whether the parcel was delivered as part of a split shipment. Each message describes something that can be checked from the order and the evidence.
If you have three photos, name them in the order support can use them. For example, one photo shows the bag from the front, the next shows the right side and the third shows the relevant spot near the lower seam. Use your own left or right perspective consistently. If it could be ambiguous, add an orientation such as the right side as seen from the front. A photo label that takes a few seconds to write can save several questions later, especially when the body has two similar sides.
Keep the next step tied to the current policy and your case
Read the policy again before arranging return shipping. The current page lists categories for eligible returns or exchanges, requirements and exclusions, and describes responsibility for shipping costs. Check the guidance you receive for your order before you act, especially if a return address, packaging detail or a particular item needs to be confirmed. Time matters when a policy has a receipt-based window, so contact support promptly even if you plan to supplement the first message with another photo later. Give the most useful facts and images you already have.
If you receive a follow-up question, answer it on the same thread when possible. Refer to the specific order line again if the case covers several items. Keep a copy of the evidence you sent and record any action you take after receiving instructions. If an additional issue appears while the item is still unused and in its received condition, describe the new observation separately. This keeps the original timeline intact and helps everyone distinguish the first report from information you added later.
Once you have the order record, the date of receipt, an accurate description and clear photos, you have the core of the support request. Keep the original item and packaging available, share only the information needed to review the issue and use the current policy for the process. The same steps help whether the question is a wrong selection, an unexpected quantity, a missing component or a visible condition issue. A short, well organized account makes the next conversation about the order itself.
Compare these products