Blog
How to Plan a Handbag Layout for a Camera and Small Accessories


A camera that fits on your desk next to a wallet can be surprisingly awkward in a handbag. The grip may meet the zipper on the way in. A padded case can sit neatly on the base but leave its own lid facing the sidewall. Your spare accessories can fit somewhere yet still block the one item you need to reach at a crossing or a cafe. Those are layout problems you can test before shopping. Start with the setup you will actually carry, including the case, and measure how it moves through the opening.
This is a guide to planning an everyday carry layout using actual bag listings and a mock-up you can make at home. It can help you decide whether to compare a compact bag, a medium shoulder bag or a tote. The camera case remains a separate decision. Use a case appropriate to your equipment and route, and use its manufacturer's handling guidance. A retail handbag listing can show the bag's shape and features. It cannot tell you what happens to your particular camera in a drop, wet weather or rough handling.
Start with the camera as you will carry it
Put the camera in the case you intend to use and close the case in the normal way. Include the lens or other fixed piece that is attached while you are walking, together with the cap and the parts of the case that protrude. A folded handle, a zipper tab and a fabric hinge can sit outside the hard-looking outline you first see. Measure the longest and thickest points of the closed package in the orientation you would naturally lower into a handbag. Note the direction in which the case opens when it is on a table.
Now place the phone, wallet and keys beside it. Add the few accessories you would take on a normal outing rather than everything you own. Decide which items go in the camera case and which go elsewhere. If a cloth sleeve or battery organizer is part of your usual setup, include its outside dimensions. An item that starts loose during the planning stage often ends up in a sleeve for use, and the sleeve may add just enough thickness to change where it fits. Treat the setup as a handful of distinct units you can take out without fishing for a tiny object.
A wrist strap or neck strap can complicate the shape. Try folding it where you would actually put it and see whether it stays inside the case footprint when you close the case. If you carry it attached and accessible, plan for where it rests around the case or inside the chosen bag. Loose keys, drink containers and other hard or wet objects deserve their own placement. The useful measurement is the packed set you are comfortable carrying. Once the route and case are clear, a bag comparison becomes much less speculative.
Test the doorway before the room behind it
Use a box or tray and two upright pieces of cardstock to mimic a bag's opening. Start with enough width to pass your case comfortably, then bring the pieces closer together a little at a time. Keep the case closed and move it as you would in a shop or at your desk. Your fingers need a place to hold it. The case also needs room to turn, especially when the thickest part enters first and the longest part follows. Write down the opening that allows you to take it out and put it back without touching the sides.
Change the test so that the cards are held high over the tray. With a low opening, you can sometimes rotate the case immediately after it enters. A bag with taller side panels may hold the package in the same orientation for longer. Try lowering the case into the tray with its handle facing you and then with the handle pointed across the tray. An opening that admits the case in one direction may leave the case difficult to grasp on the way out. Find a comfortable orientation for both directions. The retail measurements on a product page may describe the exterior, so treat those as a starting point and look for an actual view of the opening.
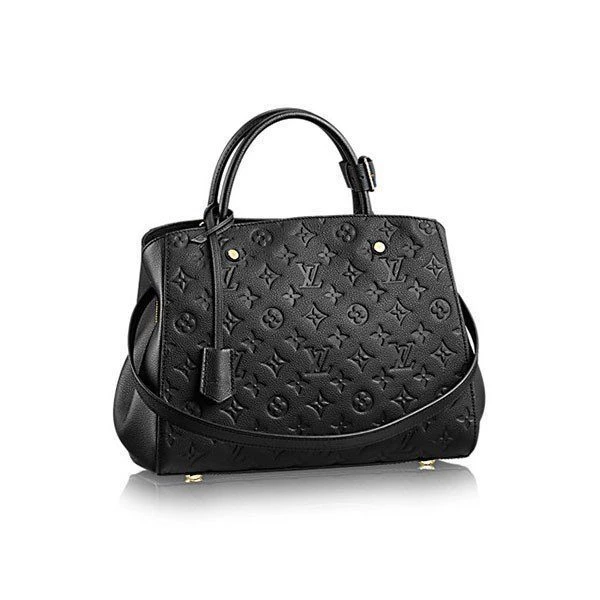
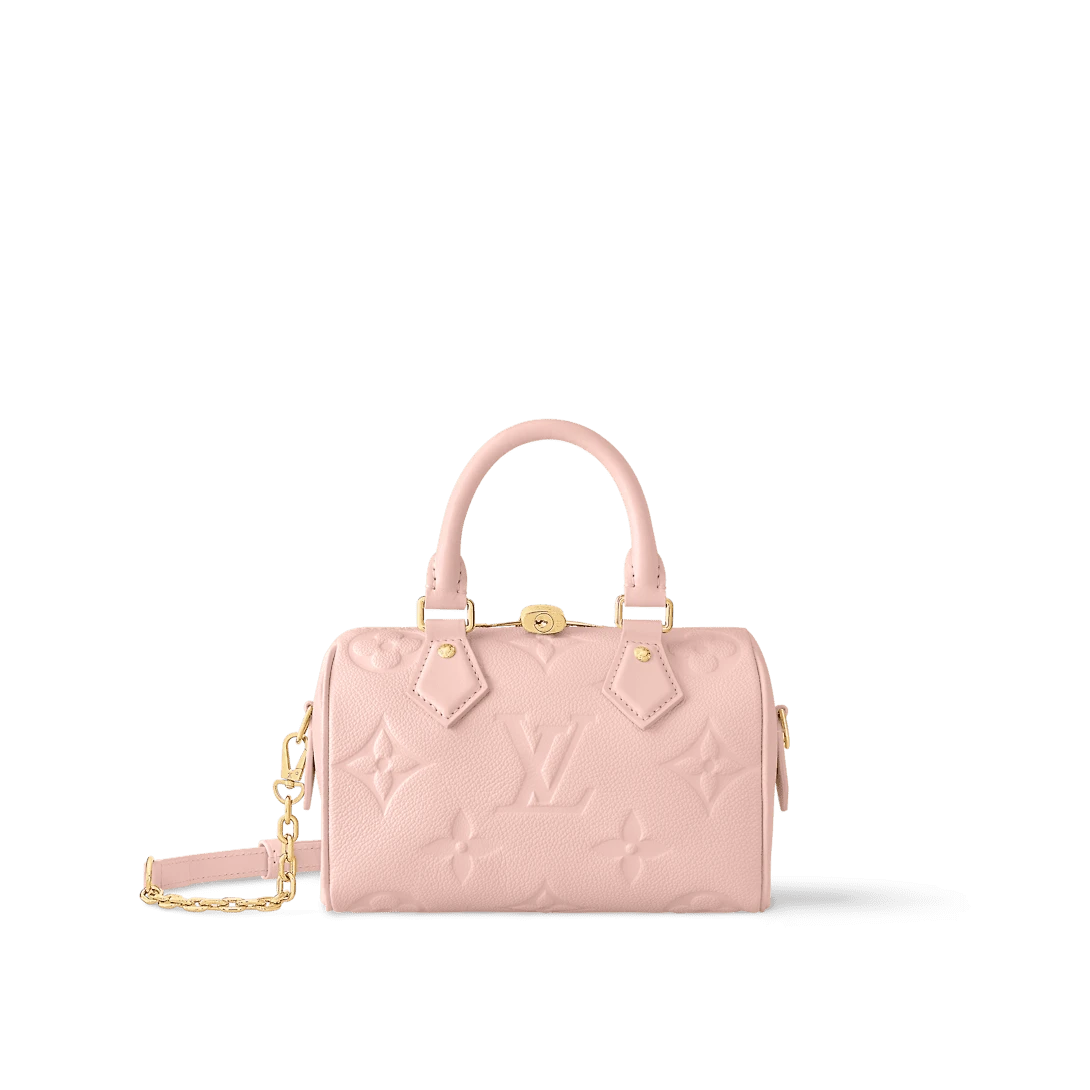
For a structured top-handle example, review the gallery and dimensions listed for the Speedy Bandoulière 20 M47136. Follow the closure line from end to end and compare the widest part of the body with the part the case must pass. Compare that sight line with the rounded outline of the Boite Chapeau Souple MM M45167. The listings let you practice reading two shapes. Compatibility with a camera is something you establish with the actual case and the selected bag, independent of a model name or a product photo alone.
Give frequently used items their own path
A useful layout has a camera path and a separate everyday path. The camera path covers taking out the case, setting it down safely and putting it back. The everyday path gives you access to a phone, payment card, keys or transit pass while leaving the case settled. Imagine stopping at a ticket counter with people behind you. Which item do you need first, which hand would you use and where would the bag be? The answer can tell you that an easy-to-reach pocket is more important than another inch of depth in the main compartment.
Use your mock-up to test two arrangements. In the first, place the case flat on the base and add the small items beside it. In the second, use the arrangement recommended by the case maker or another approved carrying position, then try bringing the frequently used items near the opening. Hold the mock-up with the same orientation the bag would have on your body. Get a phone out and put it back three times. If you need to lift the camera package every time, the layout needs a different placement, a different pocket or a different bag.
Put the wallet at the edge of the test container and lift it out by the corner. This tells you how much finger space is necessary if the camera package fills much of the center. Check whether an interior pocket loses usable depth after the case is in place, because an object in the main compartment can press against the other side of a pocket. A listing that shows the pocket while the bag is empty gives you its position. Your loaded test tells you whether you can use it in the way you want.
Make a home for the small pieces before comparing volume
Small accessories are easy to include in a volume estimate and easy to misplace on an outing. Give each one a location. A closed pouch can make sense for items you only need once or twice, while a frequently used item might deserve a dedicated pocket where you can grasp it directly. Arrange two pieces with very different retrieval patterns on the desk, such as a cleaning cloth you may need at any moment and an accessory you expect to use only after you sit down. Place the frequent item in the more accessible position in the mock-up and repeat your normal reach.
Try removing one accessory without opening the camera case. If the accessory was meant to be separate but its pocket sits behind the case, it is effectively part of the same access step. Moving the item forward may solve the problem. If it creates contact with a hard item or takes up the spot your fingers need to lift the case, consider a different compartment or a bag with another arrangement. A large tote can offer ample space, but a shallow organizer or a small pocket may matter more when you want to locate something quickly.
Use empty shapes or harmless substitutes for any test involving a newly sized layout. A piece of folded cardboard can stand in for the case. A familiar wallet and the small pouch you already use can show how your hands would reach around the substitute. A clean mock-up avoids exposing the camera to pressure while you are moving things around. Once the layout makes sense with substitutes, check the fit gently with the actual closed case, keeping the opening fully clear and following any handling instructions for the equipment.
Plan the change from standing to setting the bag down
The first part of taking a camera out often happens with the handbag on your body. The rest may happen with the bag resting on a secure surface. Walk through the change before choosing a style. Lift the strap as you normally would and place the mock-up on the surface you plan to use at home. Picture a smaller table, with space for a cup, the bag and the case. Work out whether you would set the bag down first or bring it to the front of your body while it is still supported by the strap. Each routine creates a different access pattern.
Test how far you need to turn the bag to see inside. A top opening may stay facing up while the bag is on a table but rotate toward you while it hangs. A flap can need room behind the bag to fold back. A zipper pull can finish on your less convenient side. Watch for these changes in the gallery, particularly in a side view that shows how the straps meet the bag. A carry video can be useful when it shows the bag put down or lifted by its normal strap. Pause when the opening changes angle and compare that frame with the static photographs.
When handling equipment outside home, give yourself a place where you can stop and pay attention. A route that involves moving through crowds, rain or rough surfaces may need a different case or carrying method than a slow walk with planned stops. Include that reality in your choice. If you would only take out the camera on a secure table, an extra closure step may be fine. If the outing involves frequent stops and a hand already occupied, the case handle, opening clearance and location of small items deserve more weight.
Compare three kinds of outing
For a short walk with one stop, the essentials may be the closed case, phone, keys and a slim wallet. Trace those shapes on a sheet of paper. Put a folded piece of paper over the printout of the case to represent any flap that needs to move. If the essentials line up with room to reach each piece, look at crossbody bags in a compatible shape. The Gucci Tag small crossbody is one example to compare for body depth and closure geometry. A small crossbody could also be where you keep the phone and wallet while the camera stays in its own suitable carrier.
A longer cafe-and-gallery visit adds a second problem. You may want a small notebook or glasses case and somewhere to place the camera case briefly after using it. Test a separate section for the notebook so it can be removed without pressing it against the case. If you visit the same places often, think about the secure surfaces available and how much room you realistically have. A medium bag can work when the everyday items stay near the opening and the camera goes into one repeatable spot. Treat any venue rules about bags or photography as part of planning your outing.
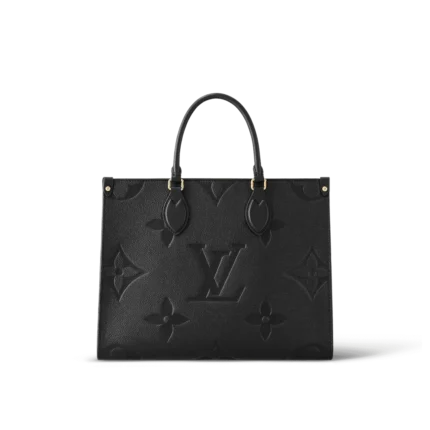
For a route that also includes work or errands, you may be considering a tote. Inspect the Onthego MM M45595 gallery for its carry arrangements and the visible interior rather than relying on a generic idea of tote capacity. Decide what will live beside the closed camera case and how you will keep wet items separate. A tote's volume can make room for several distinct items while also allowing them to move during carry. Look for a layout you can repeat every time you set out.
Photograph and label your mock packing layout
Take a photo of the arrangement on your desk once you have one that works. Label the case outline, the clearance your fingers need, the opening direction and the location of anything you would use without taking out the case. Put the phone or notebook in the photo only if it is part of your ordinary carry. A second photo from above can help if you are comparing the arrangement with the top view of a bag. The photo is for your reference. If you ask support about a listing, share the relevant package measurements and bag link without sharing unnecessary equipment or personal details.
Decide what you still need to confirm from the product page. An outside measurement, interior photo and closure photo may answer three different questions. Look for the unit used in each measurement and check that the option selected matches the gallery you have open. If a critical measurement is missing, ask customer support about the clear opening for that bag and the available depth where the case would sit. A precise question about the usable space is easier to answer than a general request about whether a camera fits.
Keep a short note of what you know and how you know it. “Case clears my mock opening by a finger on each side” is a useful personal observation. “Gallery shows the zipper ends and a tall side panel” is a useful shopping observation. Together they give you a clearer next step. If the product page has no top view and the case only just clears your mock-up, leave extra room in your comparison or wait for a clearer view of the opening.
Set up the bag so you can repeat the same sequence
After choosing a bag, arrange it empty before putting in equipment. Find the pocket you will use for the phone. Decide which small items need a separate closed pouch and give the camera case a stable position that follows the equipment and case instructions. Put the case in and take it out once at home with the bag resting in a comfortable position. Close the handbag the way you would on the way out. Check that the closure sits freely and that you can move the strap to the preferred carry position.
Revisit the plan whenever the case, lens or routine changes. A different package can shift where you grasp it and make a previously comfortable opening feel narrower. You can also simplify the load for a shorter outing. Taking one fewer pouch may free the everyday path without changing how you carry the camera. The picture and notes you made during comparison are useful here because they let you see which piece changed and which part of the layout needs attention.
A camera, a wallet and a phone make a small number of items with very different handling needs. Give each a route through the opening and a place to rest once inside. The right handbag arrangement follows from those paths, the conditions of your outing and the case that already suits your equipment. When two listings look similar, the one that gives you a clear view of the opening and a realistic way to reach your everyday items is the easier one to evaluate.
Compare these products