Blog
How to Compare Handbags from Product Video

A useful handbag video shows things that are hard to see in a still image. It can reveal whether a strap swings away from the bag, whether a flap needs a supporting hand, or how the base settles when the bag is put down. The same clip can also make a bag look easier to use than it will feel in your own routine. Watch for specific movements, then compare what you saw with the current listing. A short clip is most valuable when it answers a narrow question about the exact product.
Confirm which product the clip is showing
Open the product page and record the full reference before playing the clip. A family name like OnTheGo or Pochette can appear on many pages. The exact reference tells you which description and gallery to read alongside the video. If the page offers variations, make a note of the selected option. The video may show one example for the listing, so use visible details to see which combination it appears to show.
Look for two or three details you can match between the video and the gallery. Use recognizable things such as the shape of the opening, the arrangement of pouches or the position of a handle anchor. Compare the most distinctive details before using color as the deciding clue. Lighting can change the appearance of a color between formats. If the selected option uses a visibly different strap or closure, treat the clip as a guide to the family until you have evidence that it applies to that particular option.
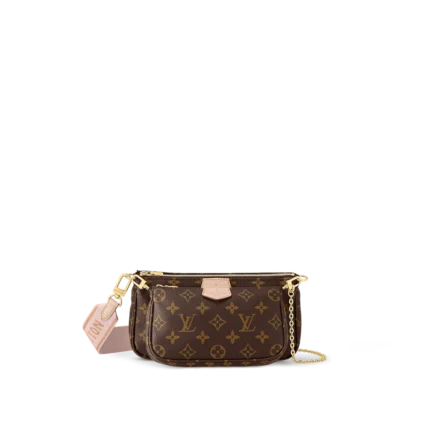
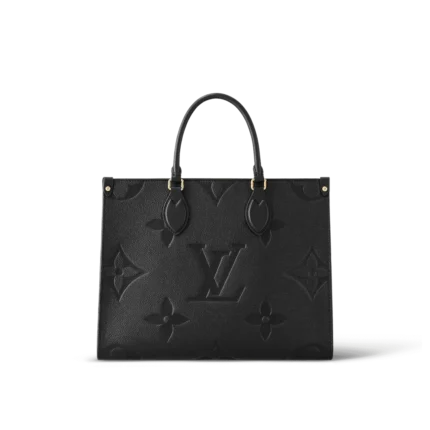
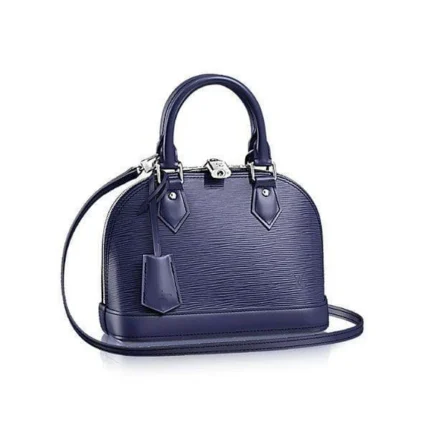
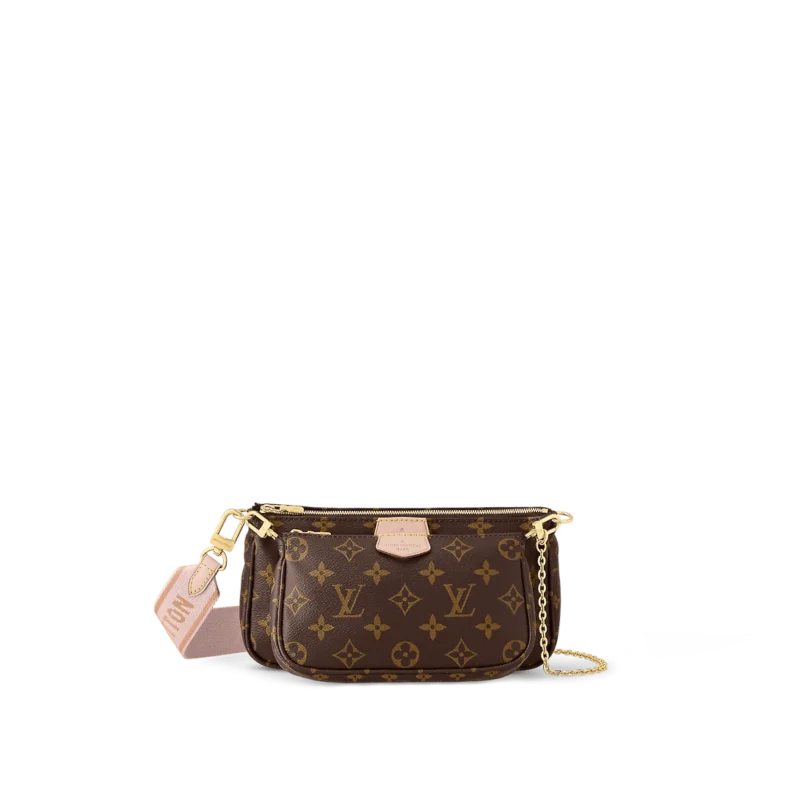
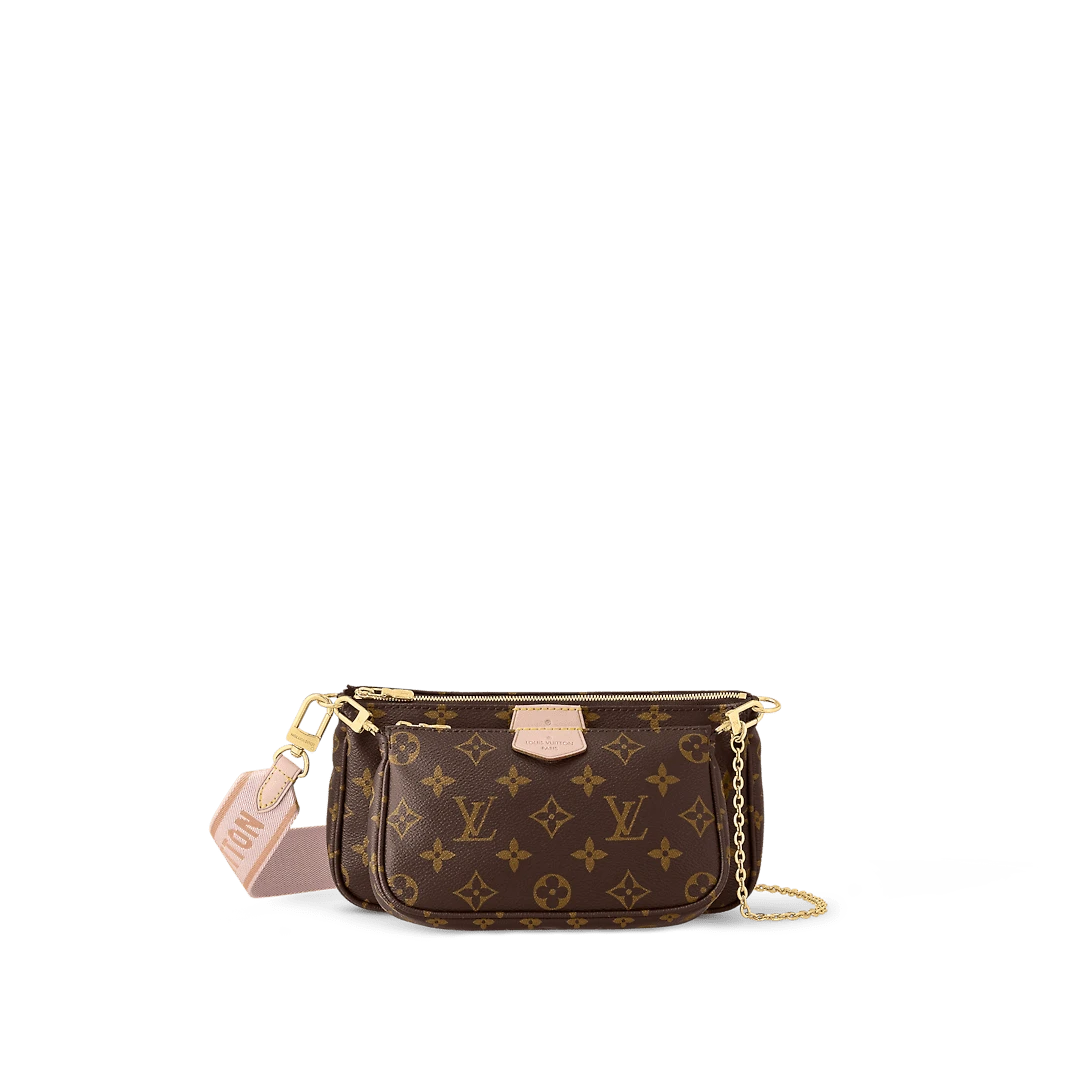
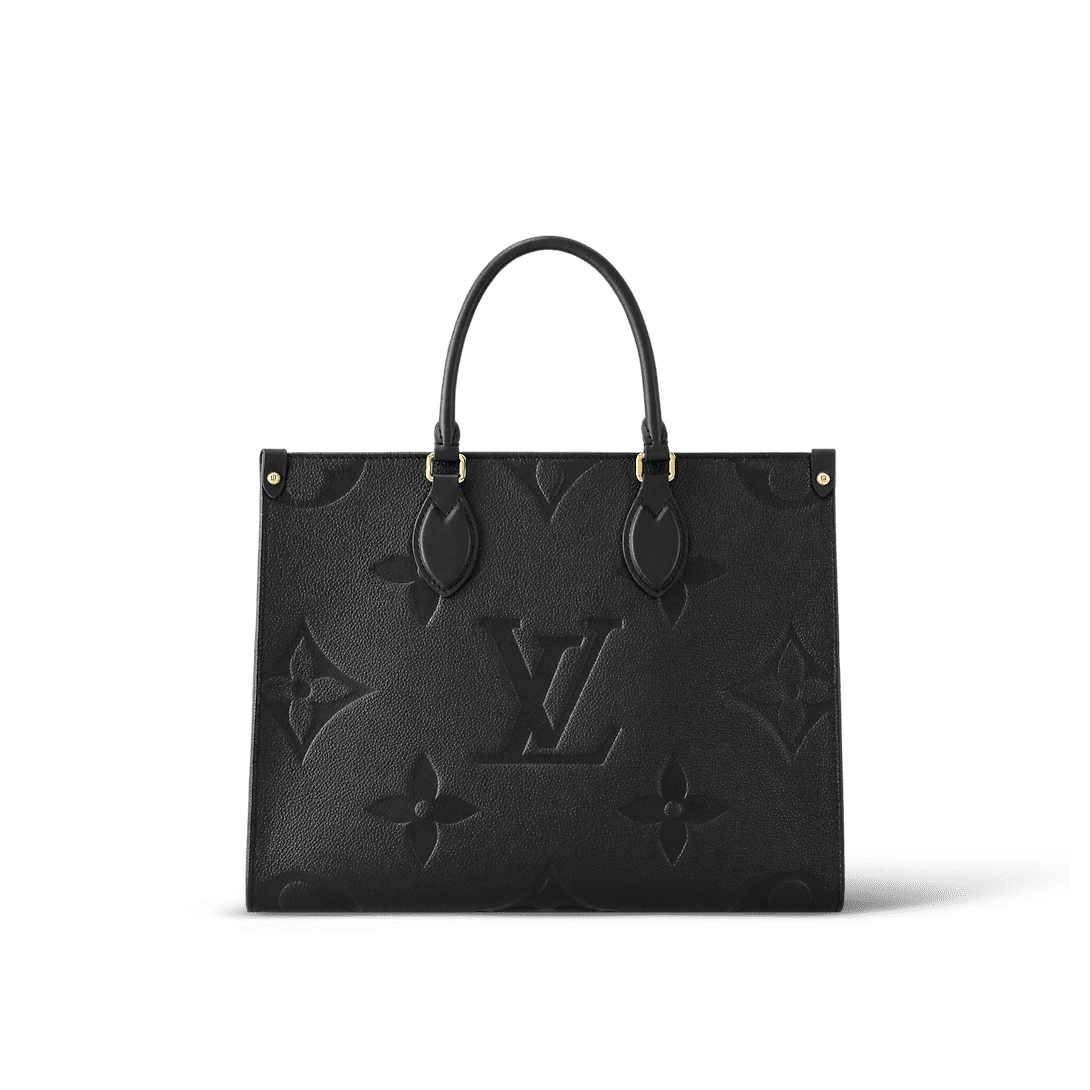
On Integrity Bags, the Multi Pochette Accessoires M44840 and the OnTheGo MM M45595 are useful examples with playable product videos. Their clips can help you look at very different shapes. For a third visual comparison, the Alma BB M40855 listing gives another gallery to examine. Give each product its own notes. Comparing formats does not require that every model offer the same type of clip.
If the video starts midway through a movement, go back to the beginning once. This can reveal which parts were already unclipped, opened or arranged before the clip started. A bag that is shown open does not necessarily have a fast or simple closure. You need to see the process of opening before judging that part of the experience.
Watch the whole shape before zooming into details
On the first pass, keep the bag in view as a whole. Notice what changes when it is lifted, moved or set down. Does the silhouette stay broadly similar from the front and the side? Does the side fold inward when the strap takes the weight? Are the handles upright or lying against the opening? These observations help you decide which parts deserve a closer look.
Use a moment where the bag is held steady to compare the front and side depth. An object filmed close to the camera can appear larger than the same object in the background. Instead of estimating a measurement from that perspective, look for relationships within the bag. A wide side panel might make the bag project farther from the body. A thin profile might still have an expanding interior. Confirm the listed dimensions and check the opening separately.
Pay attention to how the video is cut. A smooth camera move around the bag can give you a continuous sense of shape. A series of quick cuts may skip the moment when the bag is turned or opened. Missing footage is not evidence that something was difficult. It does mean that the clip cannot settle that part of the comparison. Make a note of the next view you would like to see rather than filling in the missing movement from assumption.
Look at any visible supports. The bag might be stuffed for display, held by a person or positioned with an object out of frame. An upright silhouette in that setup does not establish how the empty bag will rest. Use an image showing the base and, if available, a moment where the presenter actually lets the bag stand. Those observations are more helpful than judging support from the neatness of the cover image.
Follow the strap and handles through one complete movement
A strap can look tidy in a photograph because it has been arranged against the bag. Video helps show what happens when one end moves or when the load shifts from a handle to a shoulder strap. Watch the attachment points on both sides. Look for whether the clip turns freely, whether a handle folds away from the opening and whether any chain links gather near a corner. Those are things you can see without needing to infer the strength of the hardware.
Follow one complete sequence when available. The presenter may lift the bag by a top handle, set it down and then raise it by the strap. Watch the same side panel through all three moments. If the strap is visible only when the bag is still, check the gallery for a clearer attachment photo. If the bag can be carried in several ways, look for the one you expect to use. A clip showing it held by hand tells you little about how the bag will hang under an arm.
For a detachable strap, check which pieces are actually removed in the clip. A small chain might connect one pouch to another or serve as a carry option, depending on the exact listing. Match what you see with the written list of included parts. The Multi Pochette example has several visible components. Slow down enough to identify which component is being handled rather than treating the entire arrangement as one strap.
A longer moment of the bag being worn can show where it sits on the demonstrator. That is useful for seeing general orientation, not for promising where it will land on your body. Compare any listed strap measurements with a bag you own. If the length is adjustable, check both ends of the stated range and look for where the adjuster sits. Use the video to understand the route of the strap, then use measurements to make your own fit decision.
Count the movements needed to open and retrieve something
When the video shows the opening, watch the process before looking at the interior. Notice whether the presenter holds the bag steady with one hand, sets it on a table or can operate the closure while holding it in the air. A closure presented cleanly in a close-up may need more room around it in ordinary use. Compare how you are likely to carry the bag in the situations where you reach inside most frequently.
Pause when the opening is at its widest. Look at the parts that remain in the way, such as a fixed handle, the ends of a zipper or a folded side panel. Look at how the opening changes when the hand leaves it. A bag that stays open on a table may be easy to load at home. It can behave differently while it is hanging from a strap. The important movement is the one you need to repeat during your day.
If the presenter puts an object inside, identify as much as you can about its shape without assuming its dimensions. A rectangular item can pass through a narrow gap at an angle, and that might leave little room for fingers when you try to retrieve it. Use the clip to understand the direction of entry. Compare the listed opening or interior measurements with your largest essential item rather than using the example object as a measurement guide.
For bags you open in motion, imagine the steps in order. Keep the strap in position, move the fastening, locate the item and close the bag. If one of those steps requires a support surface in the video, decide whether that is fine for you. An extra step can be a worthwhile tradeoff if you prefer the closure or rarely use the bag while moving. What matters is understanding which action takes the time.
Watch the base and side panels as the bag settles
Look for a moment when the presenter puts the bag down without holding its handles. That gives you a brief view of where the base makes contact and whether it tips toward the front or side. Watch whether the bag has visible contents or appears stuffed for display. Those conditions affect what you can conclude. A pose is an observation about one setup, not a guarantee about stability under your own load.
The OnTheGo video offers an example of a tote-shaped silhouette to examine for the relationship between its base, opening and handles. Compare a moment when it is upright with the listing photos from the side and bottom. For a more compact bag, observe whether a strap or chain drops beneath one side when it is set down. That can be useful if you often put a bag on a small desk or bench.
A flexible panel may crease at one spot when it moves. One clip does not establish how the surface will age or whether a crease will remain. You can still note whether the shape changes in a way you like. If you prefer a more relaxed silhouette, that movement may be welcome. If you want a sharper shape while the bag is full, look for a view of a realistic load or ask whether the listing provides one.
Also observe the space needed to handle the bag from the side. A profile that fits neatly on a shelf can need more room when a strap hangs below it or a closure opens outward. A wide opening can be convenient and still require a clear area beside the bag. Use the movement in the clip to visualize the area around the bag, not just the part occupied by the product in a still photo.
Treat lighting, sound and editing as separate clues
Light reflects differently from smooth metal, textured panels and matte lining. Compare a part of the bag in more than one shot before deciding which finish it resembles. If the color shifts as the camera moves, that can tell you how it responds to light, but it does not reveal the precise shade you will see at home. The current written color description, gallery and selected option are better starting points for that decision.
Sound can help you locate an action, such as the moment a clasp engages, but it is a poor way to judge how loud the bag will be. Microphones amplify some details, and clips can use music or replace the original sound. If hardware noise matters to you, pay attention to where pieces touch and how many moving parts are shown. Use that as a prompt for a question rather than turning a brief sound into a performance claim.
Videos are also selective. A polished presentation can remove pauses or skip the parts where the presenter changes hands. That does not make the clip useless. It means you should compare the movements you can actually see. If you are deciding between two bags, look for the same moment in each clip. A front-opening demonstration is most helpful alongside another front-opening demonstration. Do not rank one opening over another from unrelated scenes.
When you want another reference point, customer photo reviews can show product examples in different settings. Confirm that a review clearly relates to the same reference before using it to judge a feature. A still image from a customer can complement a controlled product clip, but it cannot replace an absent measurement or show a complete movement on its own.
Make a shortlist from what you can replay
Build a short viewing record for each bag. Include the exact reference, the timestamp or moment showing the main action, one thing you could observe and one thing you still need to verify. A useful note might say that the top handle folds aside before opening. A less useful note might say that the bag looks convenient. The first describes a specific movement that can be checked again when you compare another product.
Give the most weight to movements that matter to your routine. If you need frequent access to a card or phone, compare the opening before the color. If you primarily carry the bag on a shoulder, look at strap movement before studying how it sits on a table. If you mostly use a bag for a short occasion, look at the complete profile and the action required to close it. A shorter list of purposeful checks is easier to apply across clips of different lengths.
Make a side-by-side note when the videos are different lengths
Open both listings, mute the videos, and give each one the same question before you start. For a bag you intend to use on transit, that could be whether the hand that holds the strap can stay in place while the other hand opens the bag. Note the time of the first usable view, then pause at the point when the hand changes position. Record where the bag is supported, whether the opening stays accessible and which piece of hardware the demonstrator is handling. A short clip with a continuous view of that movement may answer the question more clearly than a long clip with many close-ups.
Finish the comparison with a note for the next action you need to take. If one clip shows the movement clearly and the other only shows the bag already open, the second clip gives you an unanswered question. Save the listing reference and name the movement you would like to see. If both clips show it clearly, compare the number of grip changes you would need while holding your real belongings. This keeps the notes short enough to use when you return to the listings later.
Use the Louis Vuitton collection landing page or the all bags collection to open the exact listings in your shortlist. If a clip and a listing leave an important question unanswered, ask Integrity Bags support and include the reference. A video can make movement easier to understand. The listing and your own measurements help you decide what that movement will mean in use.
Compare these products